My Affordable & Minimal Photography Kit for Travel, YouTube & Social Media
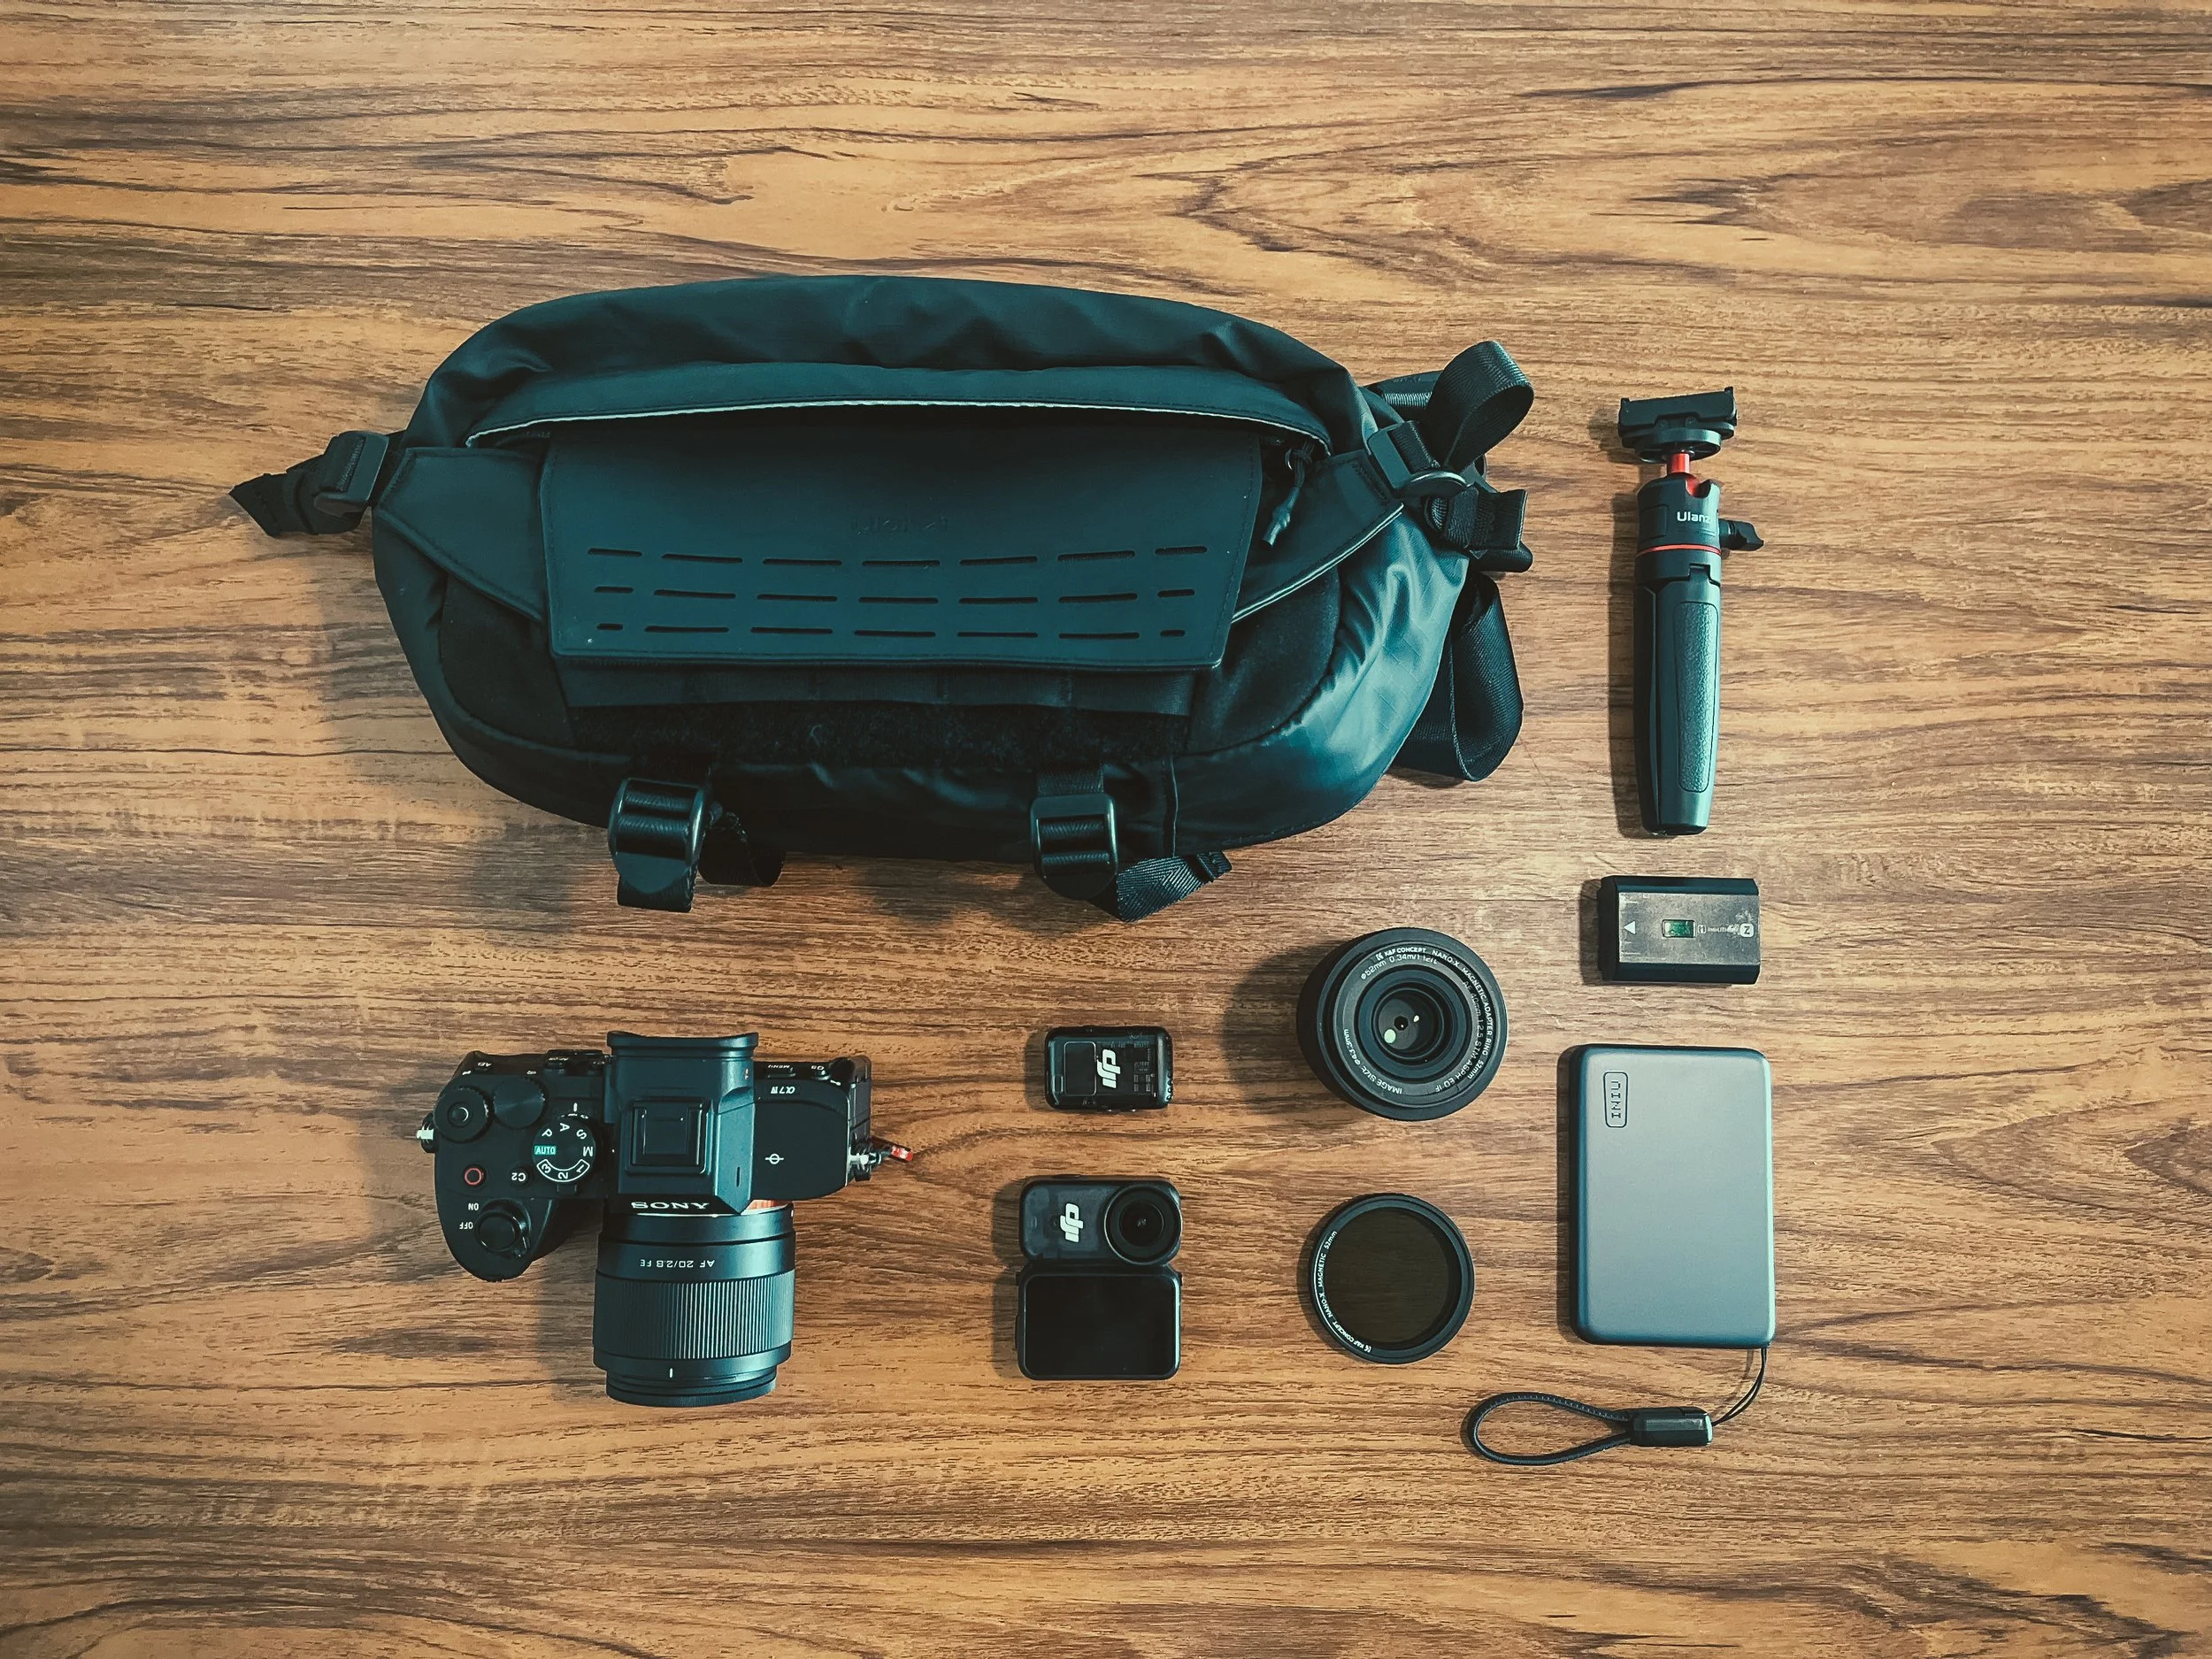
Over the last few years, I've been slowly simplifying my photography kit.
I used to carry a lot more gear with me, but eventually I realised that having more equipment doesn't necessarily make creating easier. In fact, a heavy camera bag can sometimes make me want to leave my gear at home.
My goal now is to have a lightweight, practical and relatively affordable setup that allows me to shoot photography, YouTube videos and social media content without carrying a huge amount of equipment.
This is the kit I've settled on.
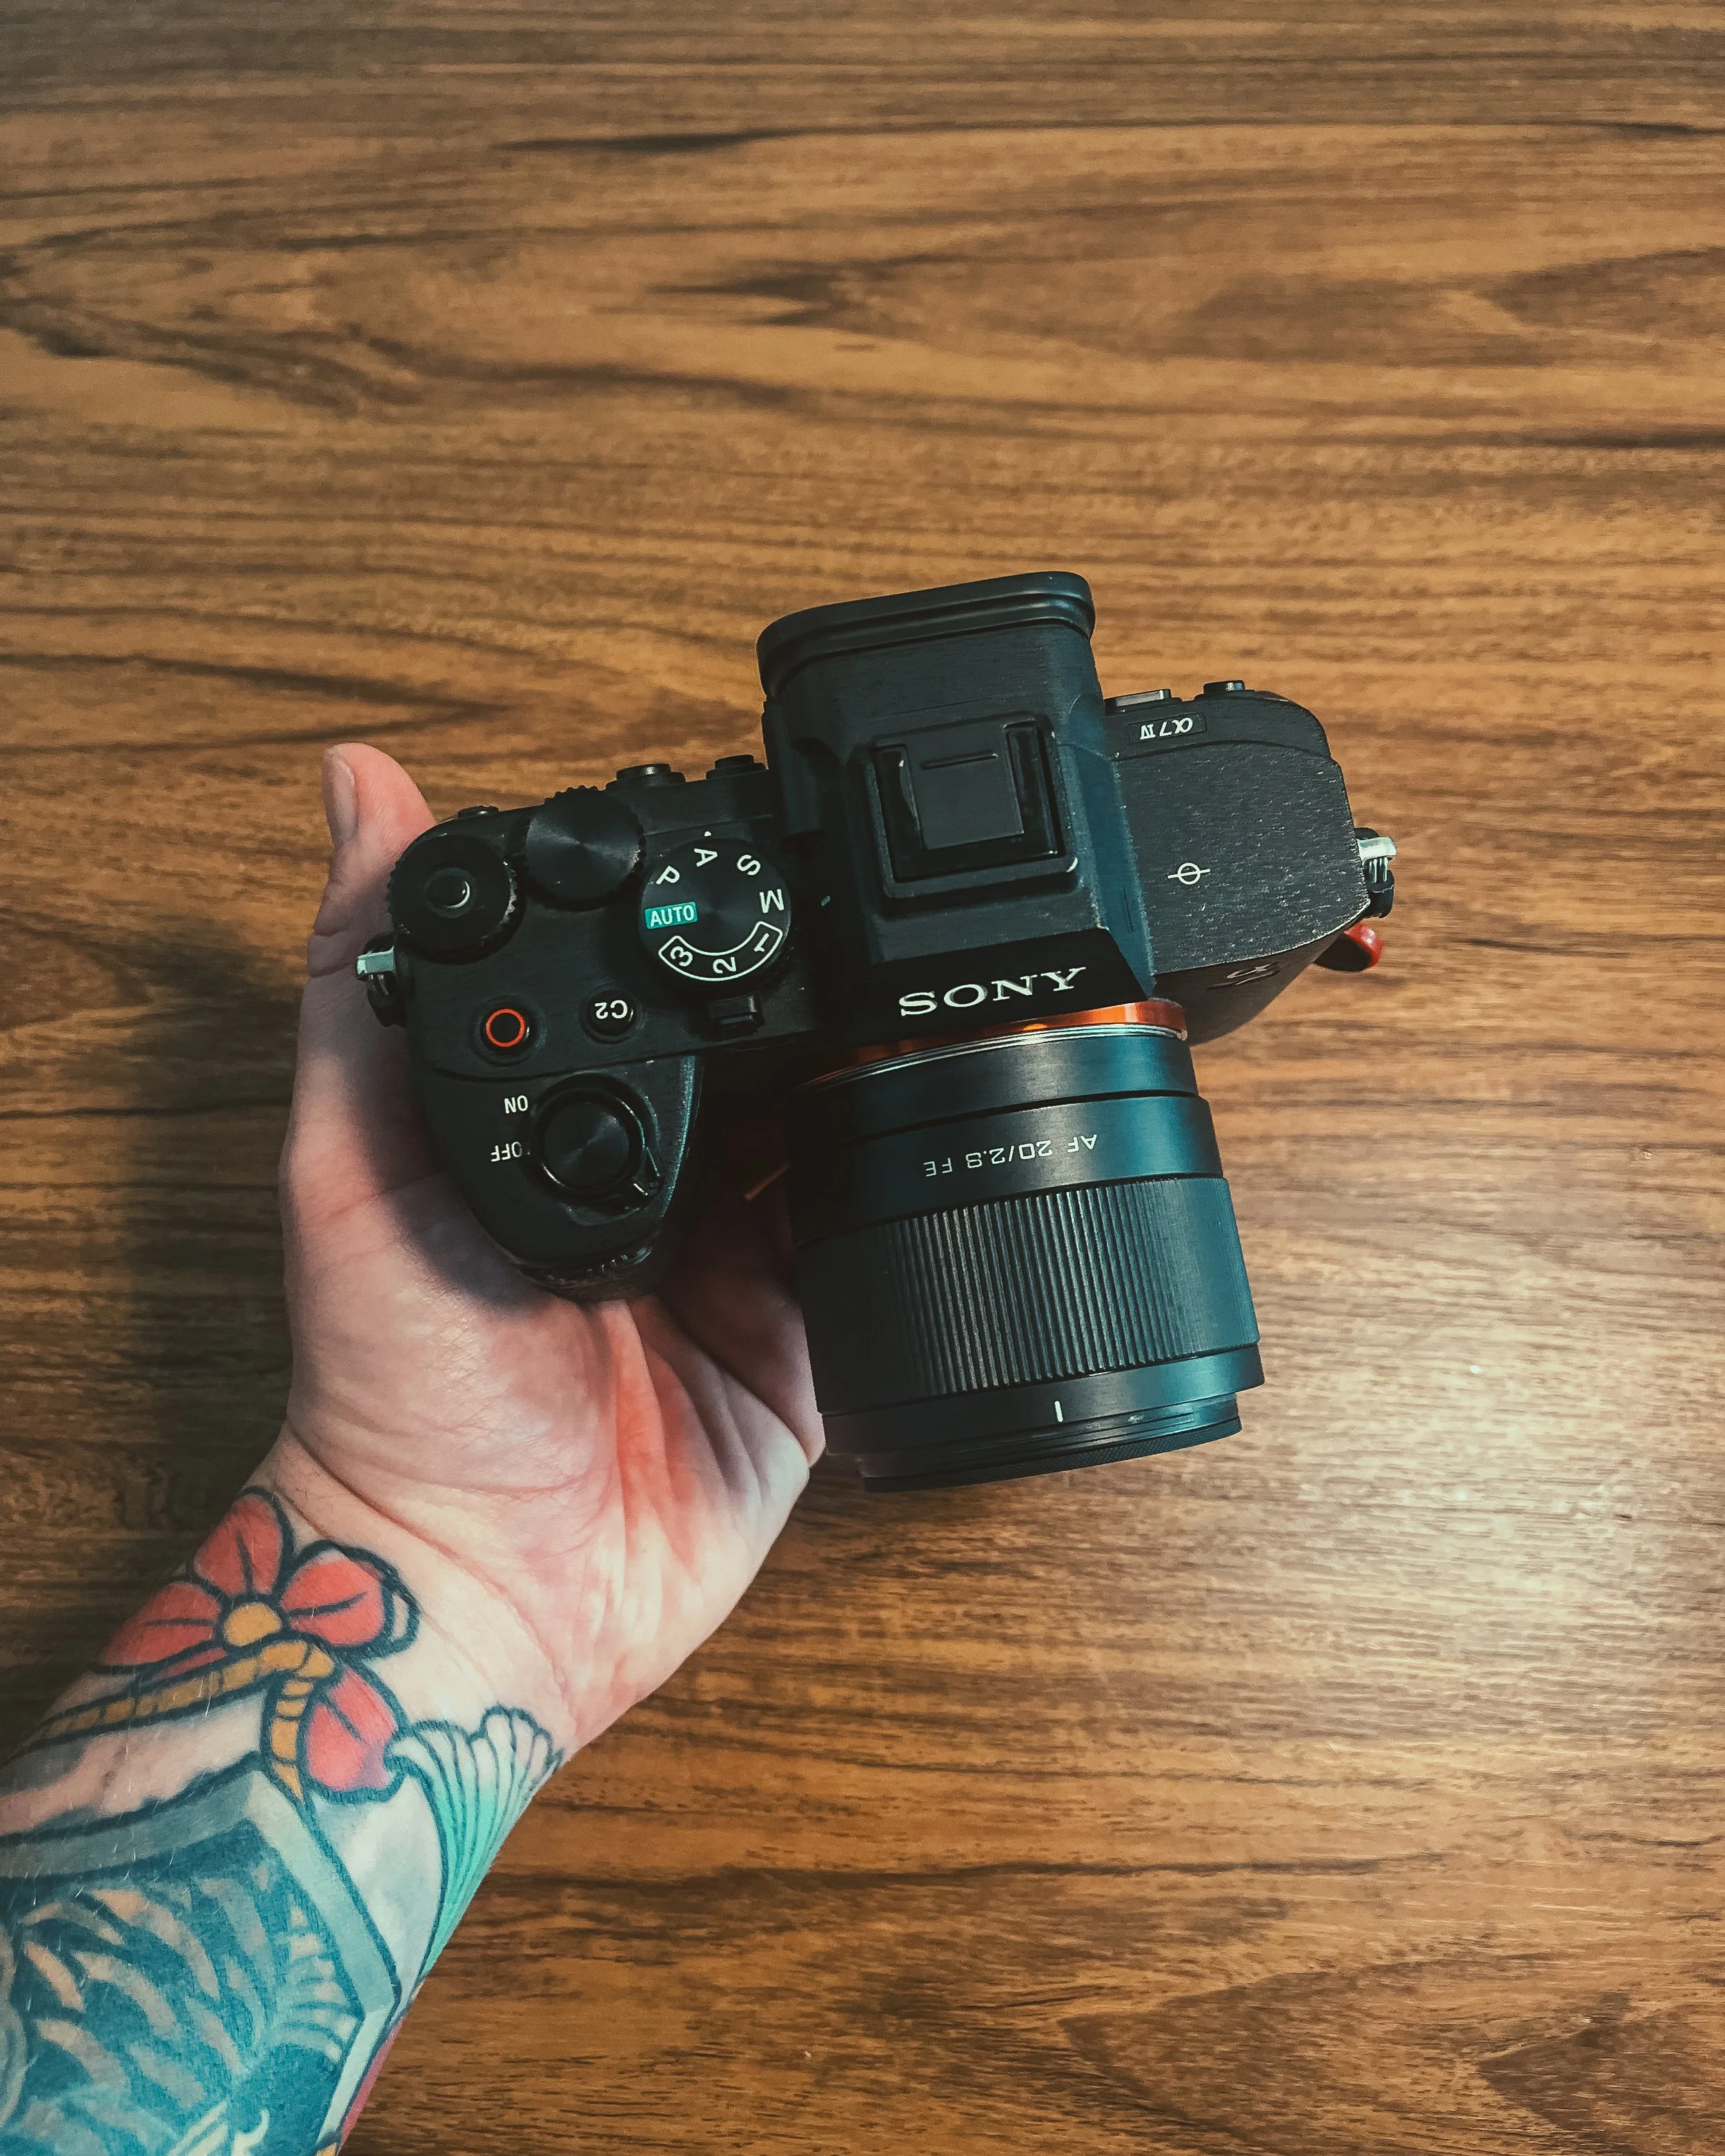
Sony A7 IV
My main camera is the Sony A7 IV, which I've been using for around four years.
The main reason I chose the A7 IV is its versatility. I shoot both photography and video, so having one camera that can handle both is extremely important to me.
It has a great sensor, excellent autofocus and more than enough resolution for the type of photography I do.
I've considered switching to a smaller camera like the Sony A7C II, but I personally prefer the A7 IV. The joystick is something I use constantly when photographing, and I really like having dual card slots. I also prefer the larger grip, especially when I'm carrying the camera around for hours.
The A7C II would definitely be a great option if keeping your kit as small and light as possible is your priority.
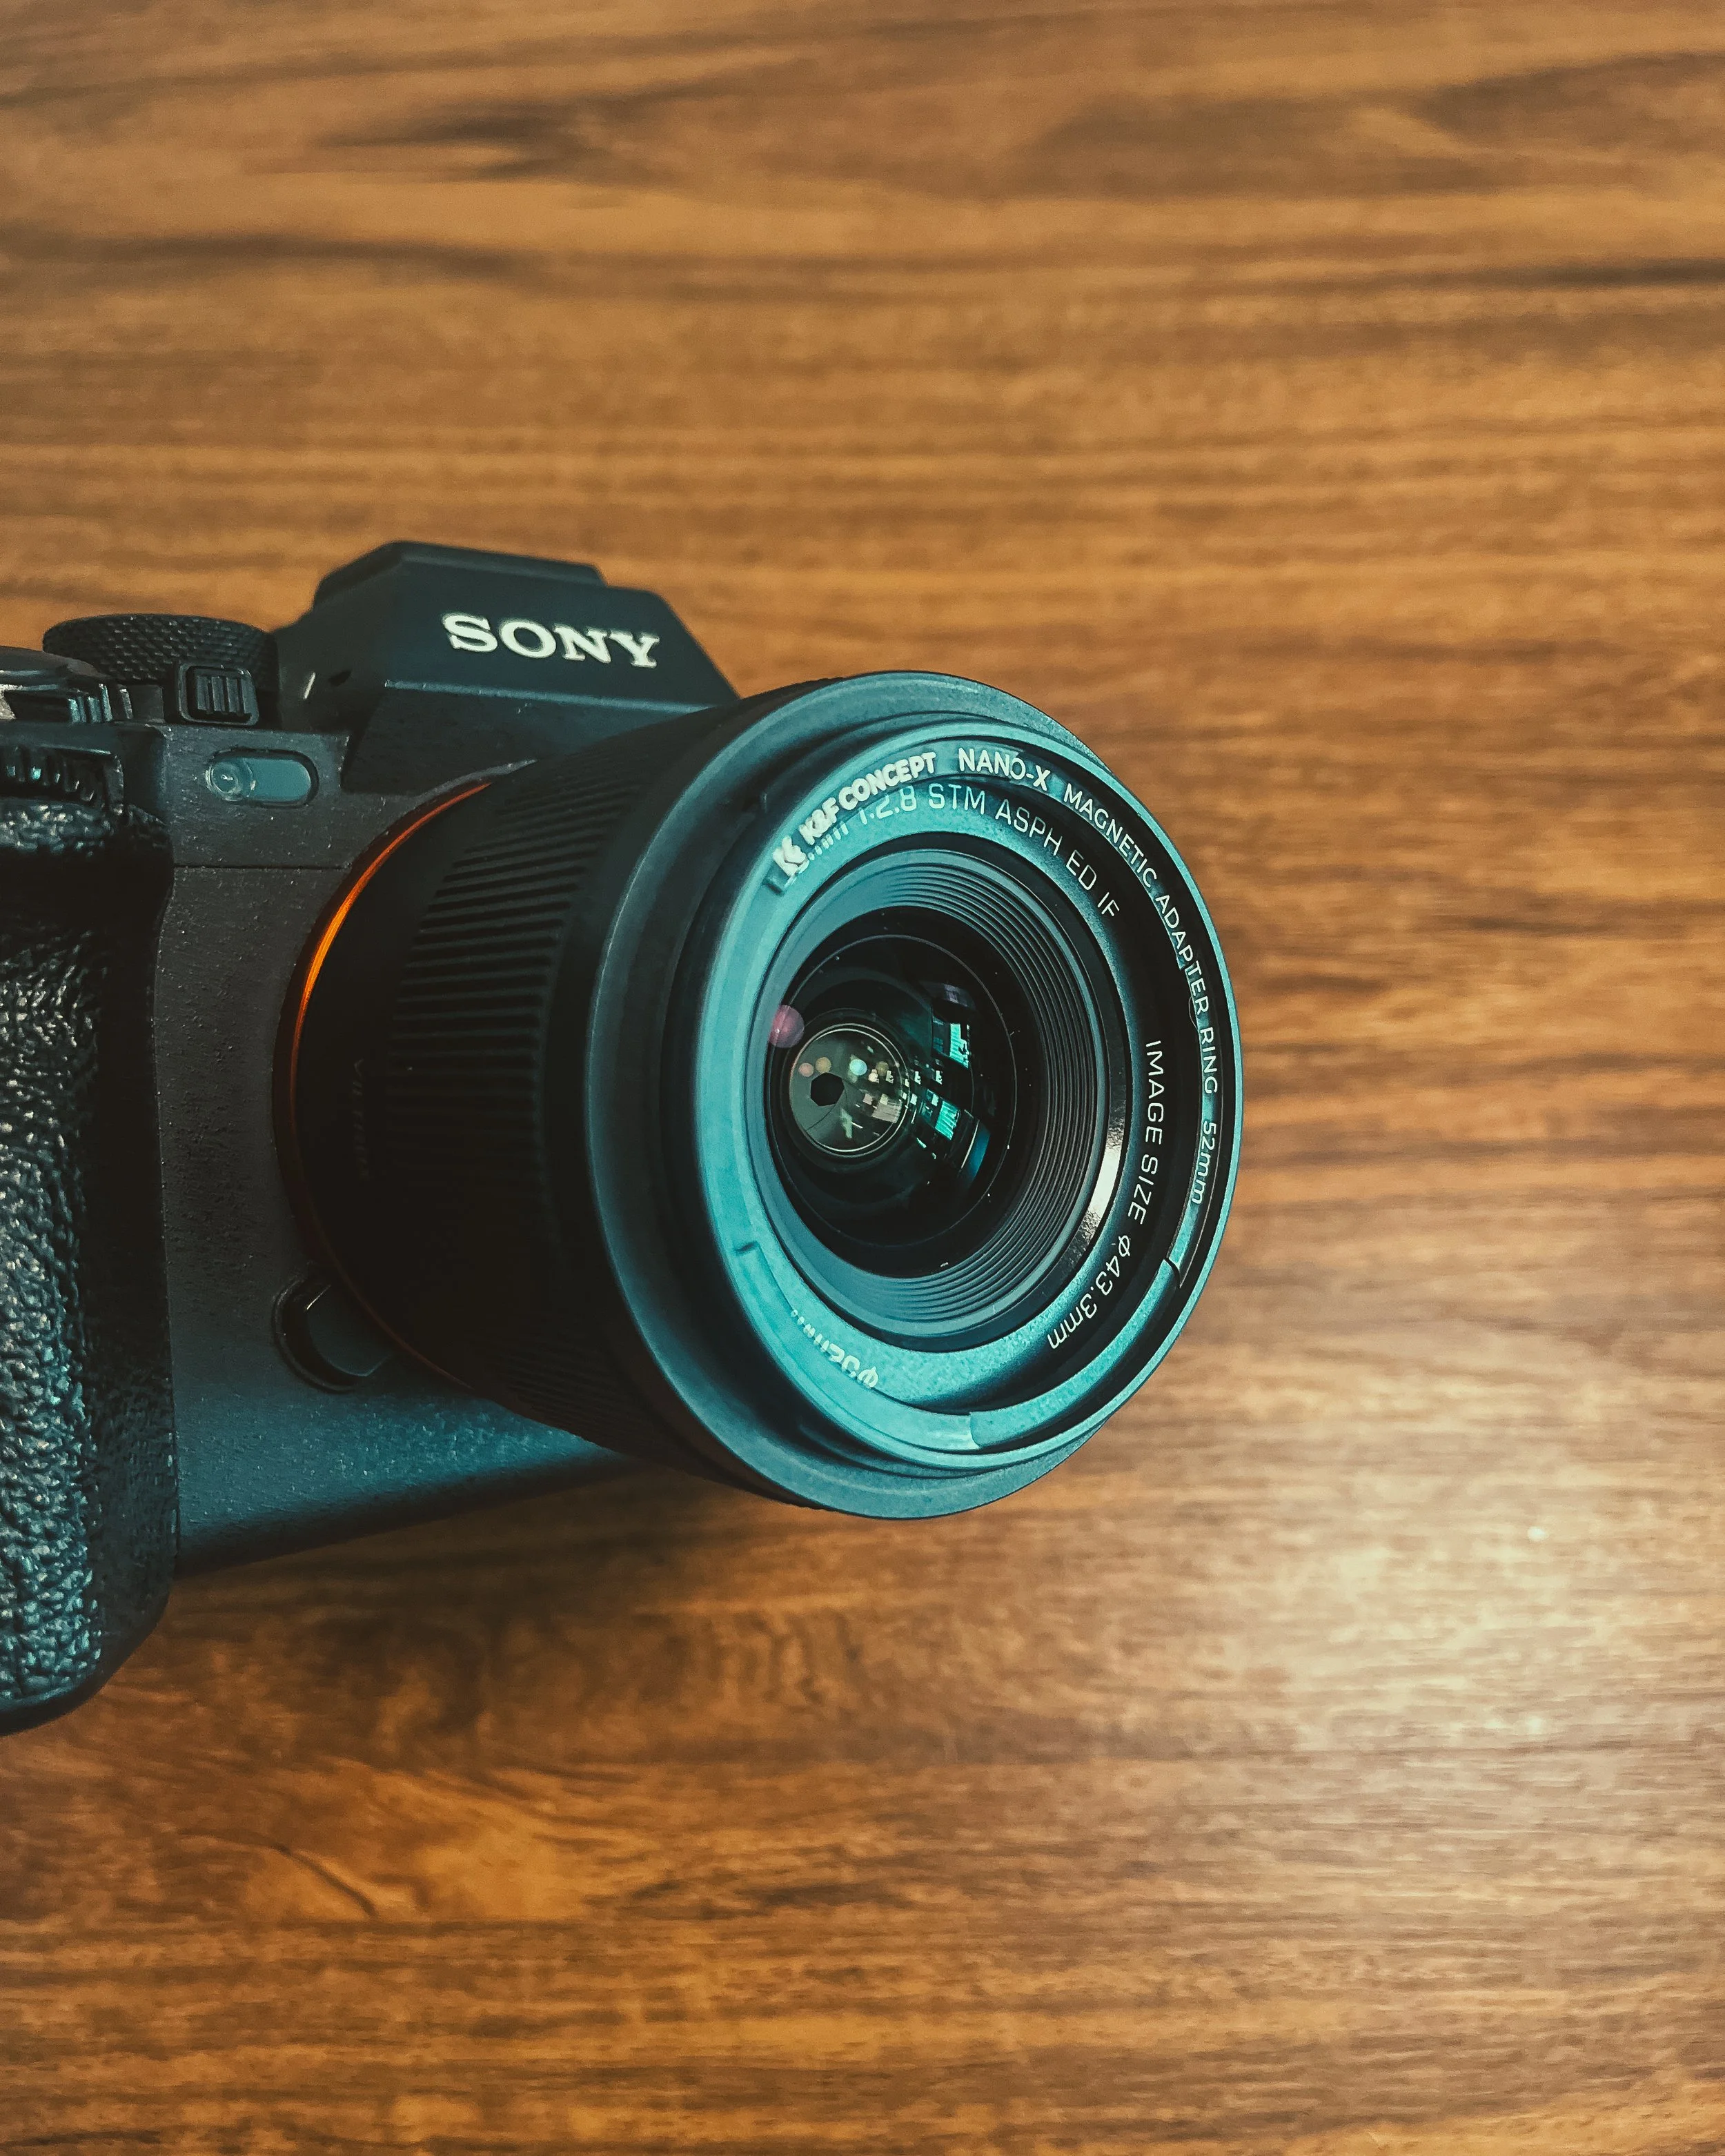
Viltrox 40mm f/2.5 Air
My main lens is the Viltrox 40mm f/2.5 Air, which I use for roughly 90% of my photography.
The biggest reason I chose it is the size. The "Air" series from Viltrox focuses on keeping the lenses lightweight, which fits perfectly with the type of kit I'm trying to build.
It's also relatively affordable while still producing great image quality.
The only thing I occasionally miss is an aperture ring, but I've become so used to changing the aperture using the camera body that it doesn't really bother me anymore.
For me, it's a great combination of size, image quality and price.
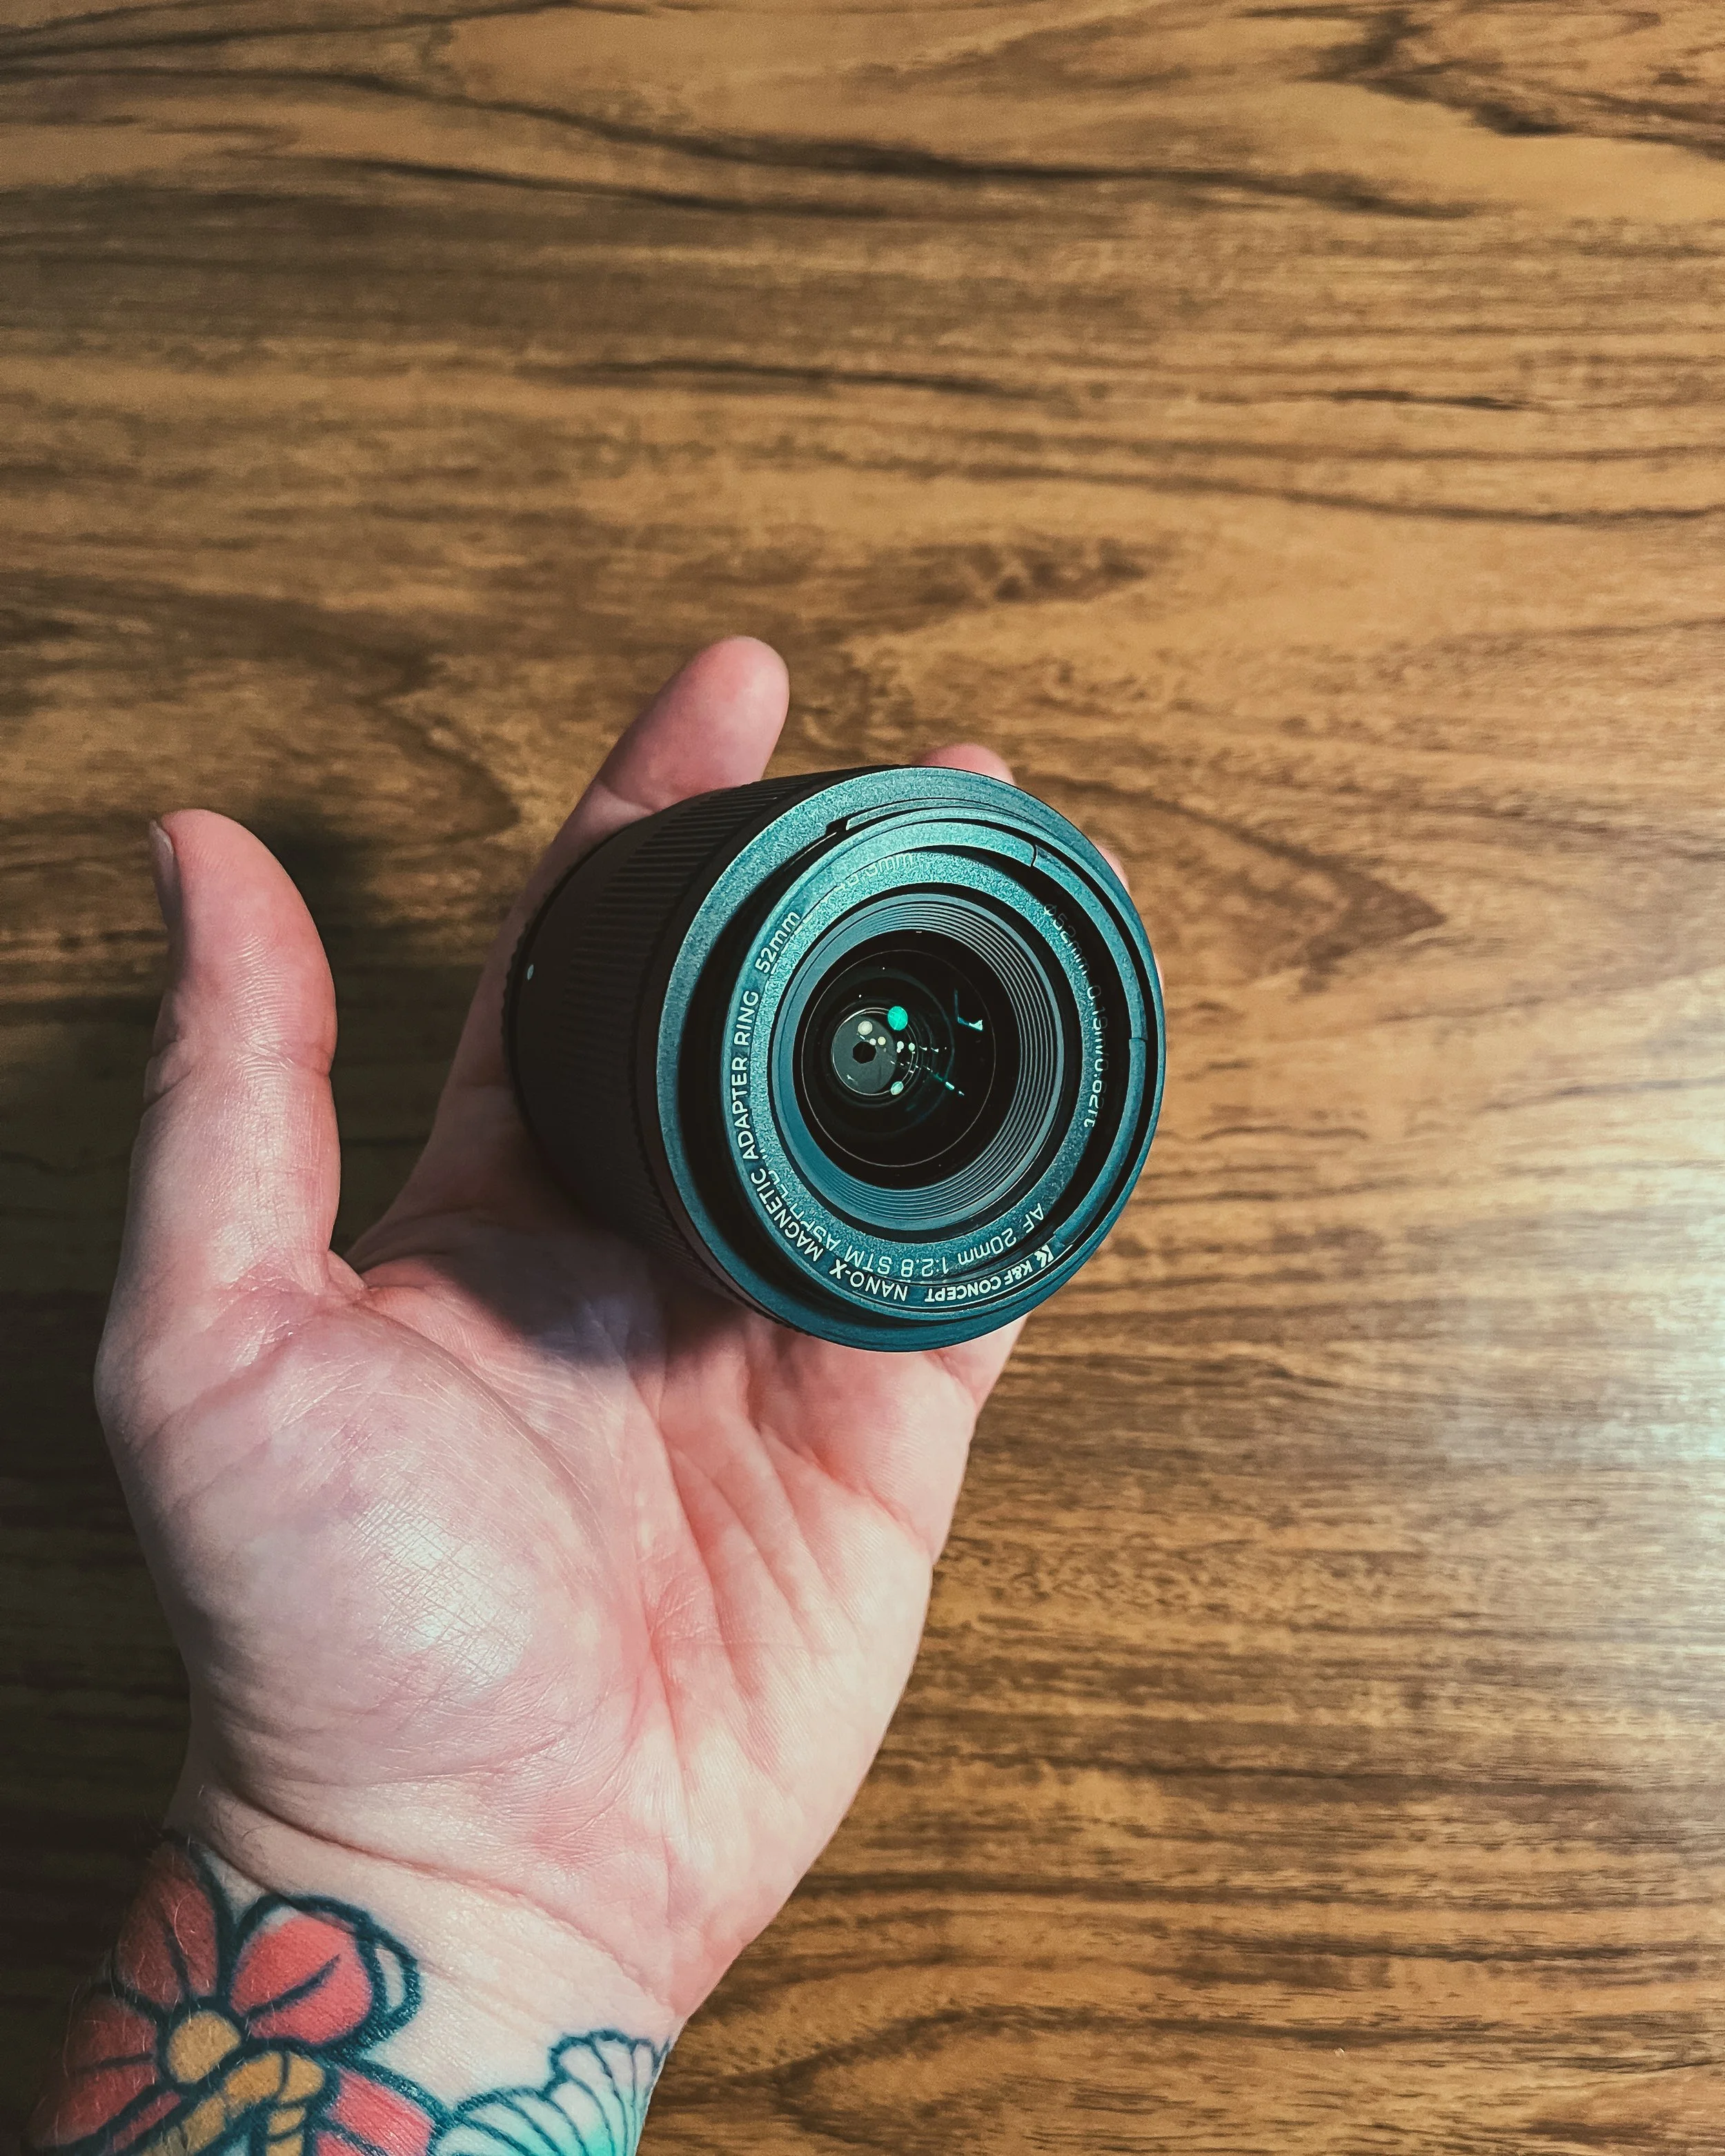
Viltrox 20mm f/2.8 Air
My second lens is the Viltrox 20mm f/2.8 Air.
I use this whenever I need something wider, and it's also the lens I use for my YouTube talking-head videos.
Just like the 40mm, it's small, lightweight and affordable.
One thing I really like about these two lenses is how similar they are physically. They have almost identical designs, and they also share the same filter thread.
That means I can use the same filters on both lenses without having to carry multiple sizes.
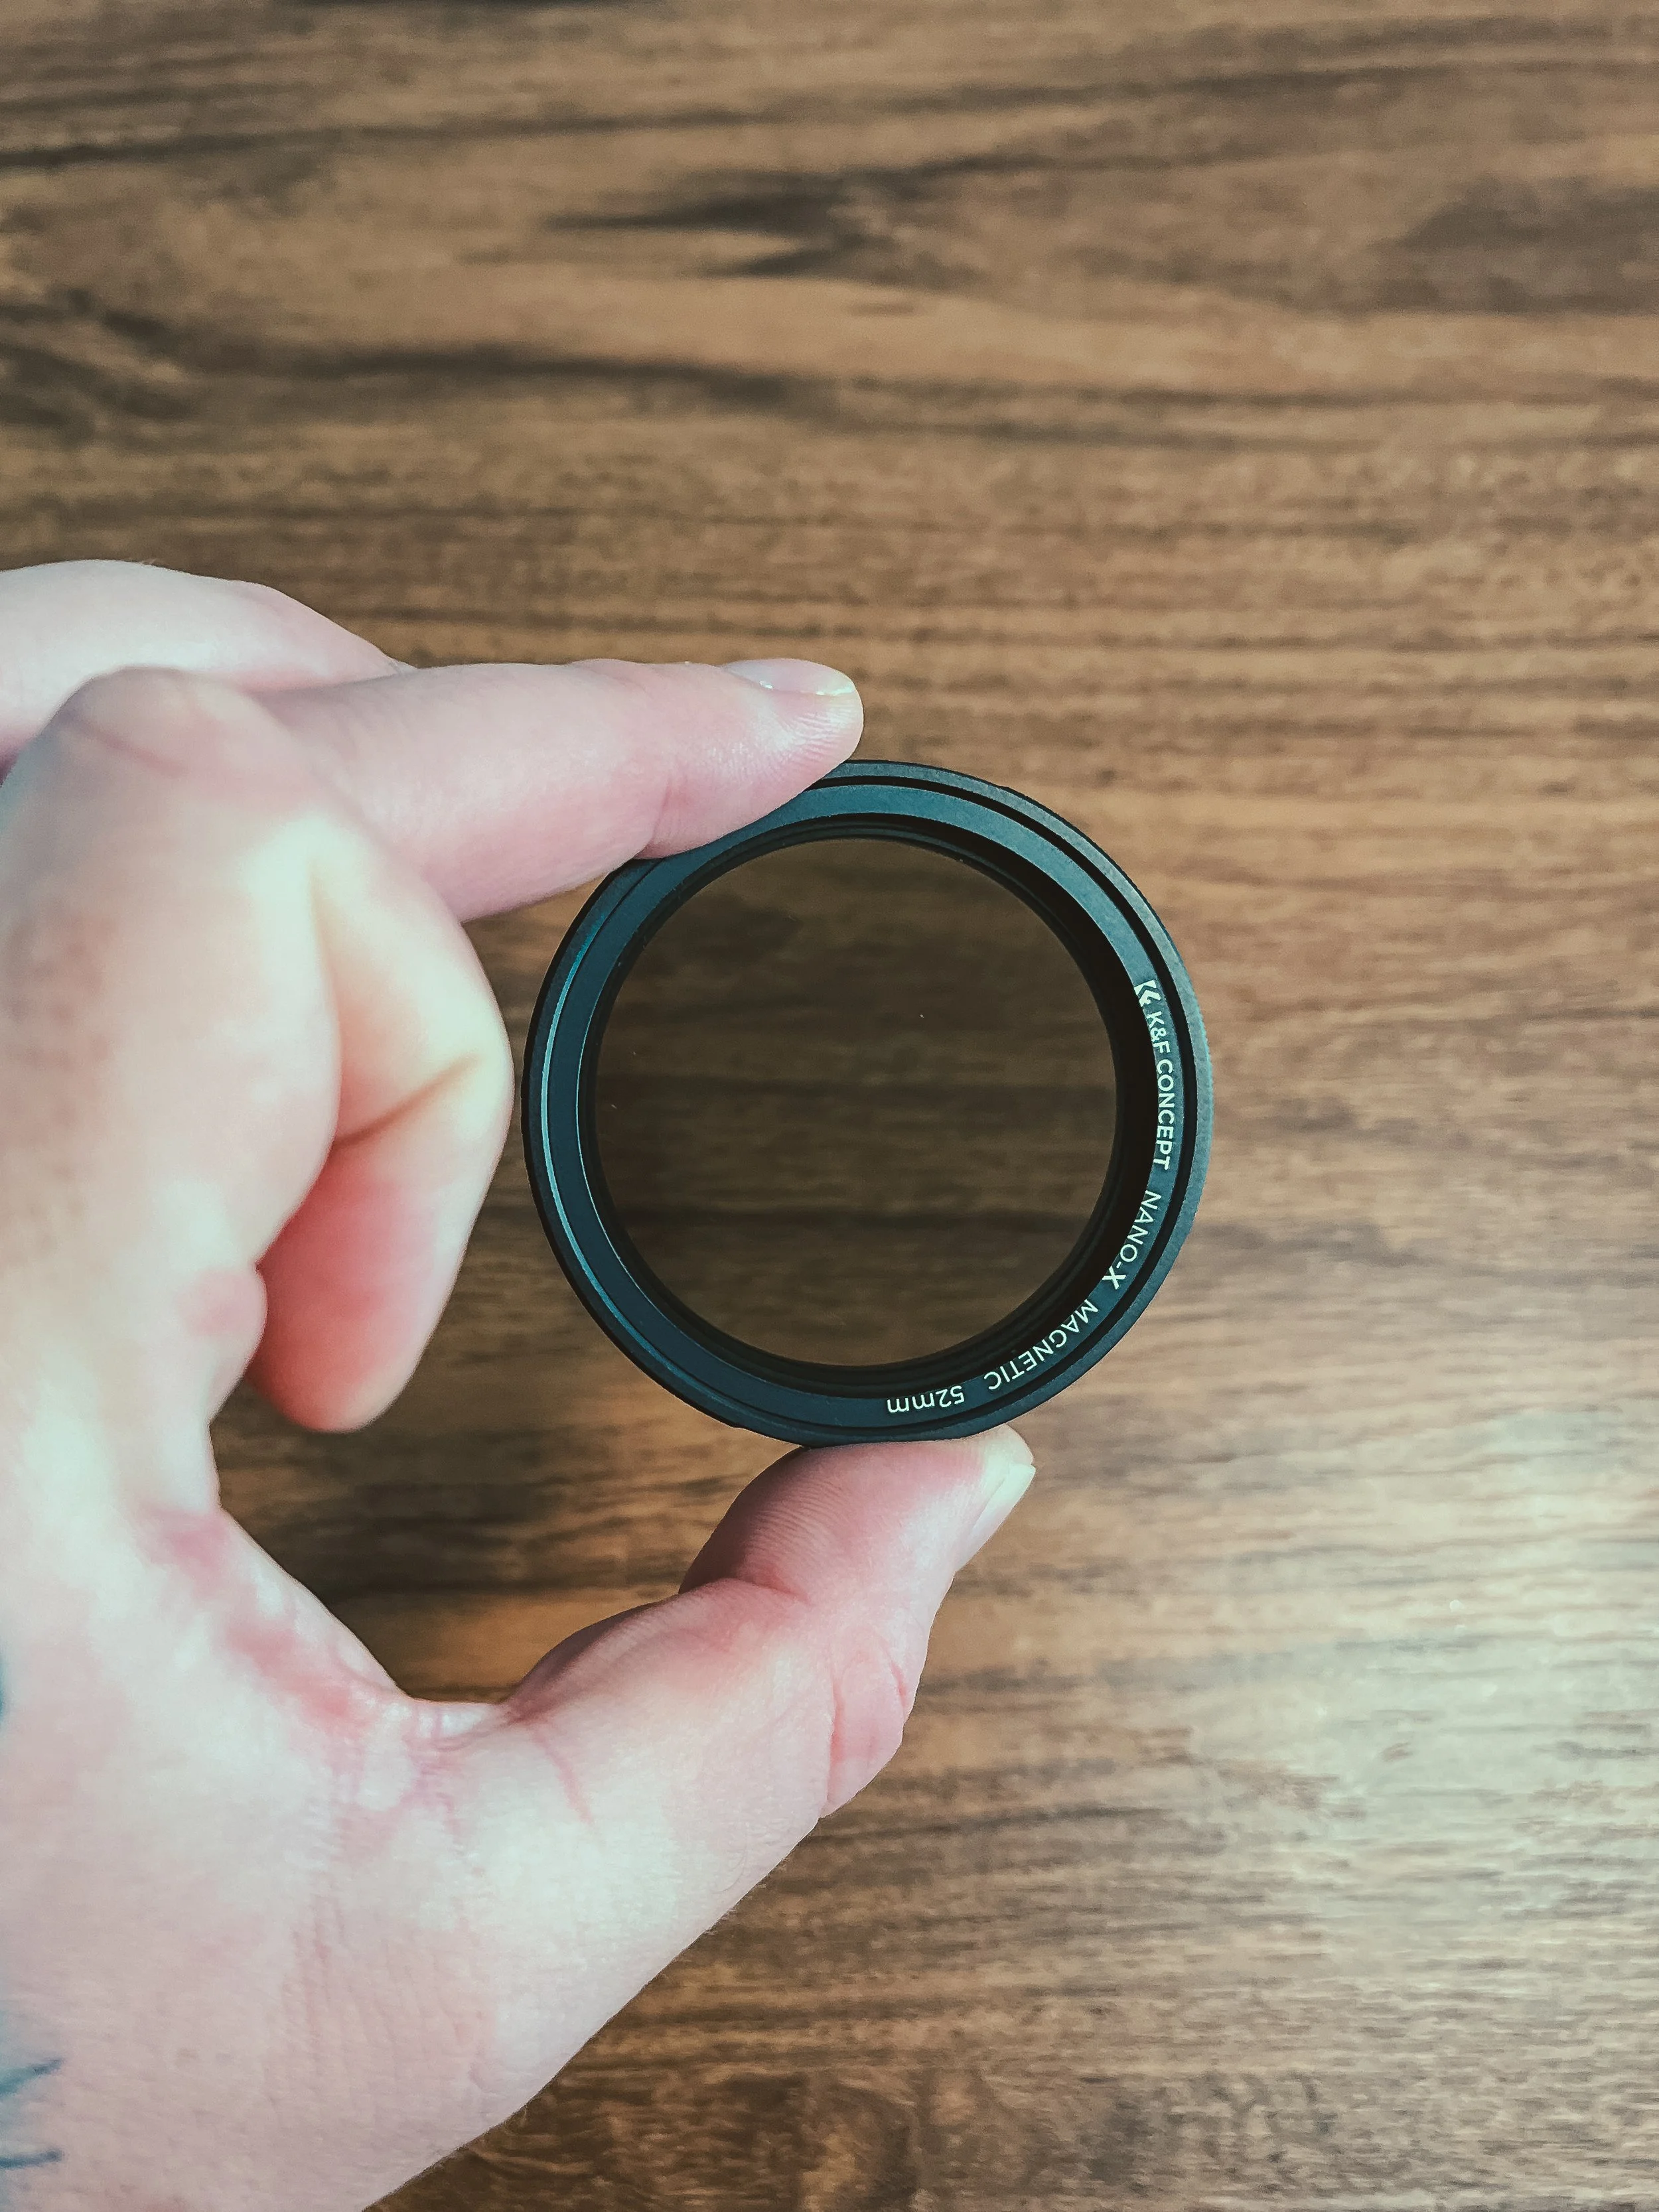
K&F Concept Variable ND Filter
For video, I carry a K&F Concept magnetic variable ND filter.
I've heard mixed opinions about K&F's ND filters, particularly regarding colour casts and vignetting, but personally, I haven't found those issues to be significant in my everyday use.
I much prefer a single variable ND over carrying several fixed ND filters. Having to constantly swap filters is something I find frustrating, especially when I'm trying to work quickly.
The magnetic system makes things even easier. I can simply attach the filter when I need it and remove it again in seconds.
It's a small thing, but it makes my shooting workflow much more convenient.
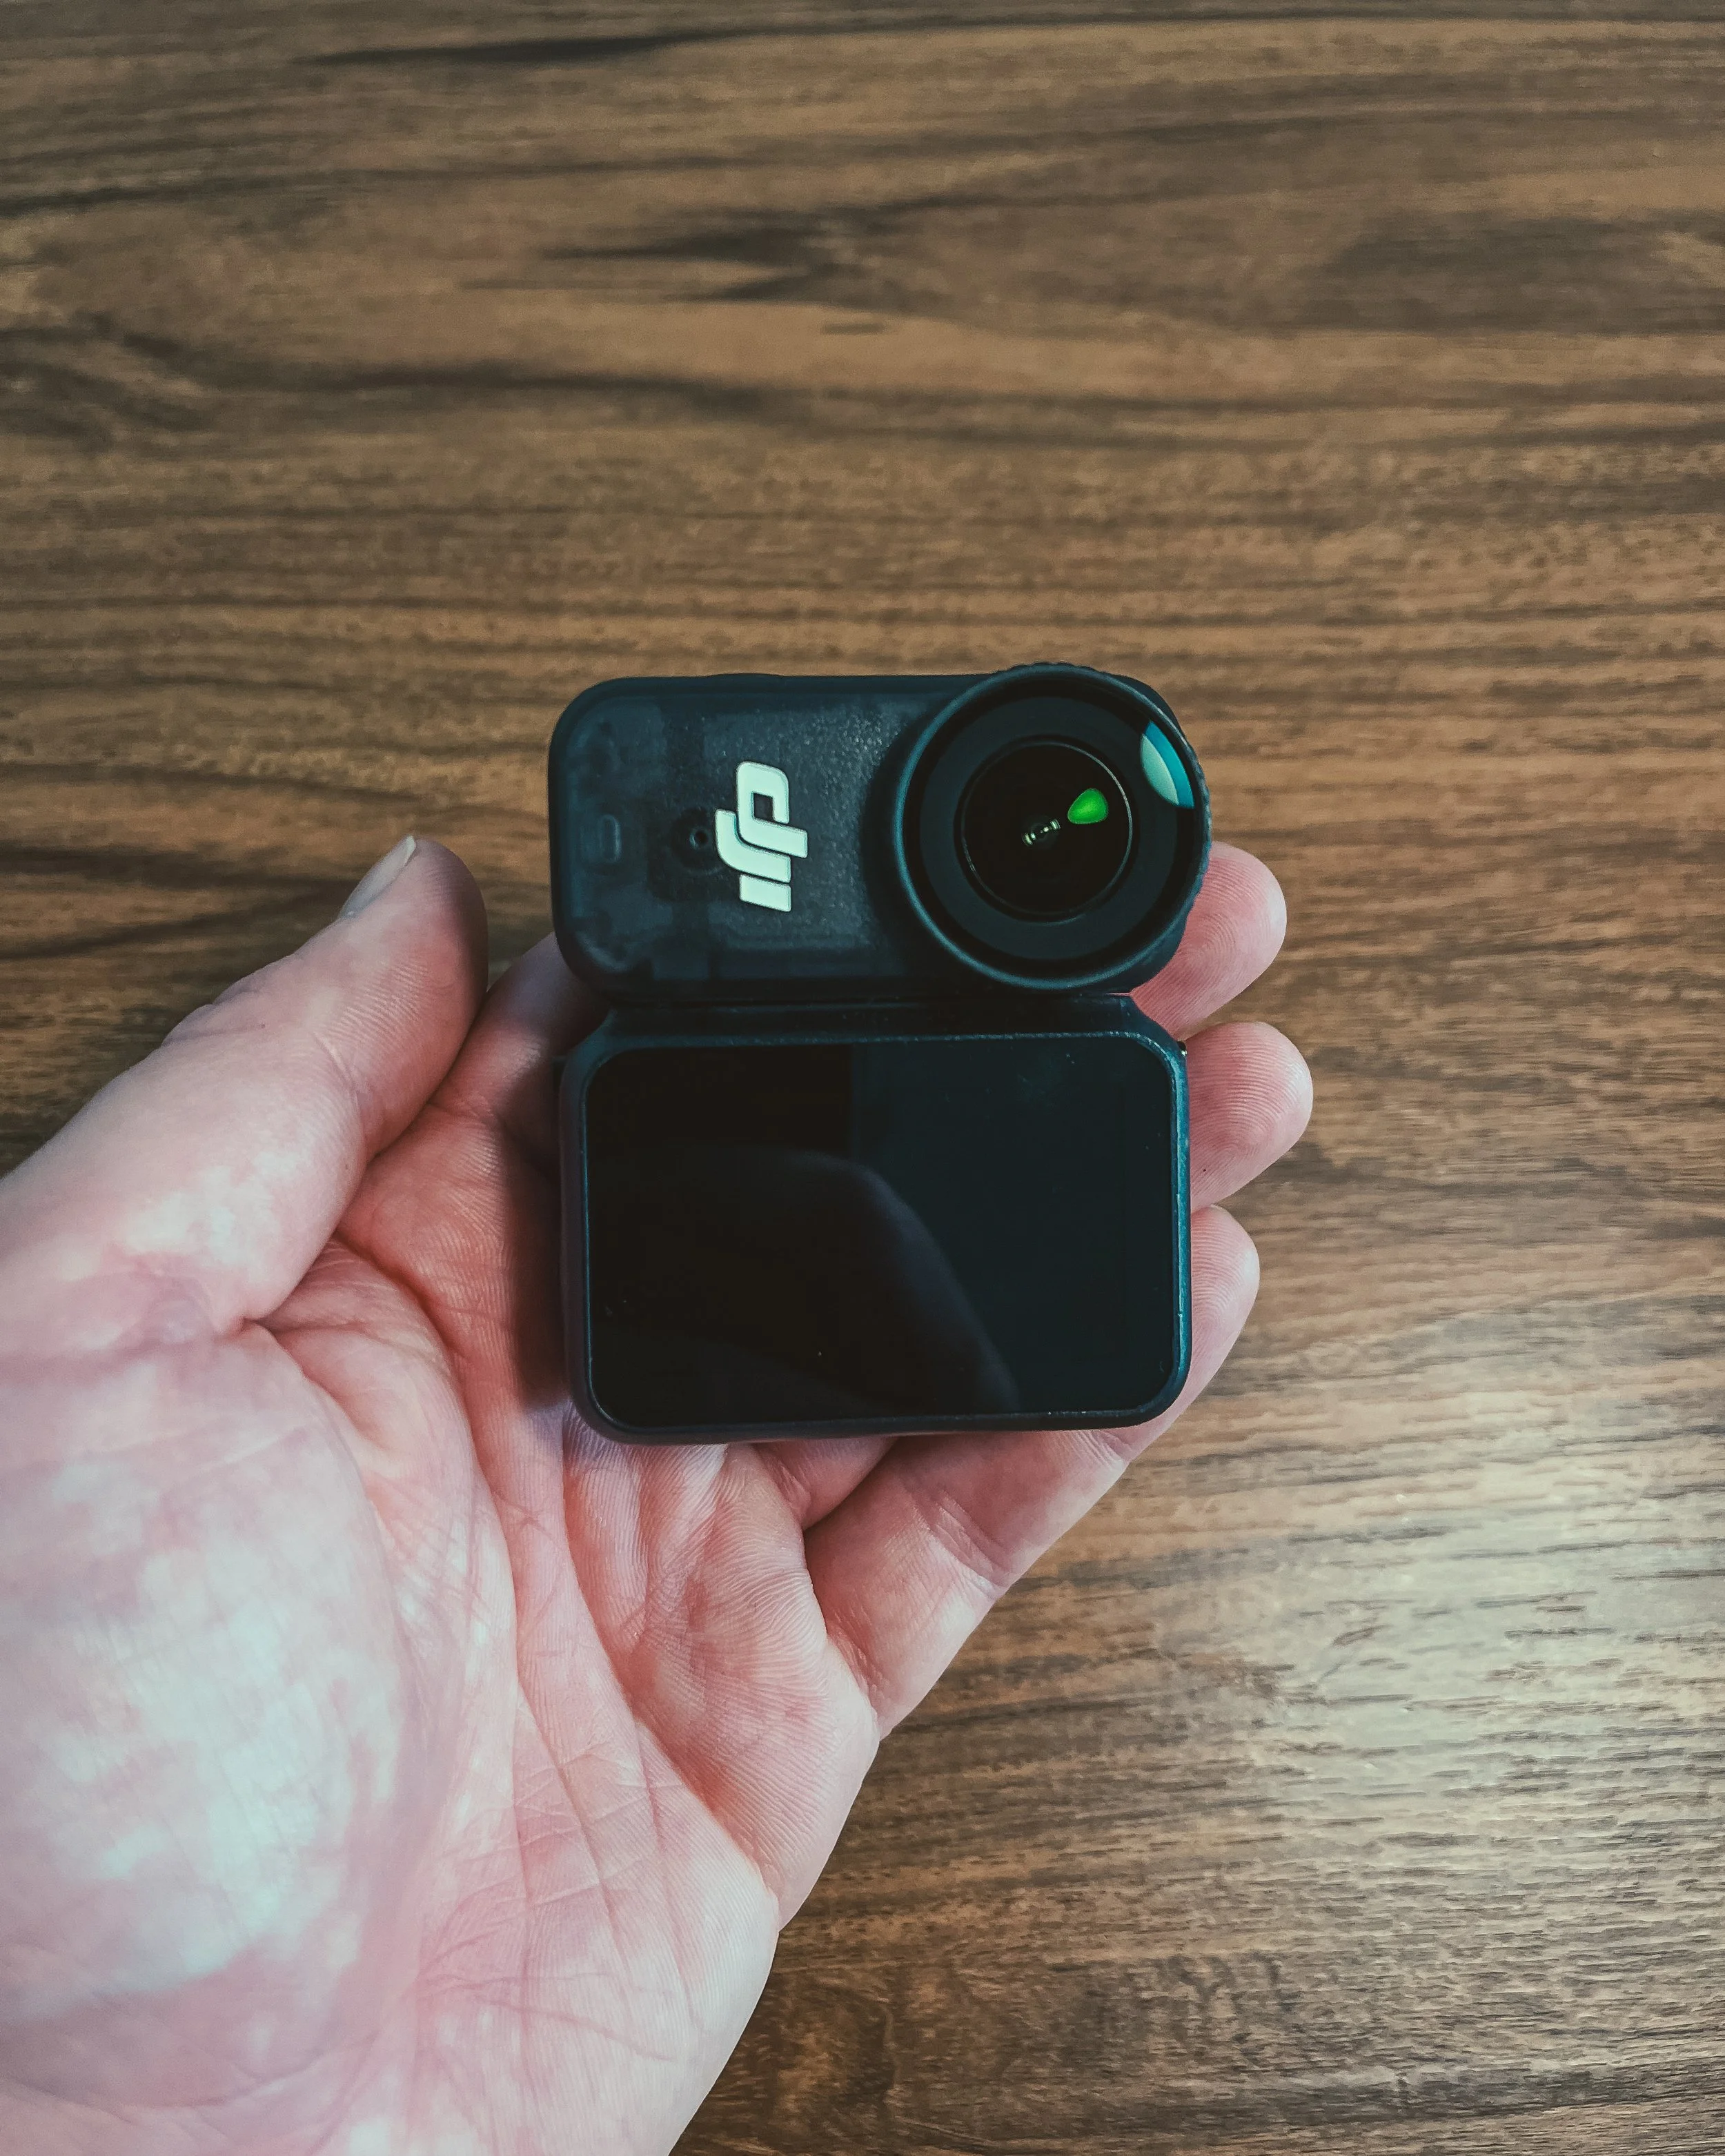
DJI Osmo Nano
One of the biggest surprises in my current kit is the DJI Osmo Nano.
When I first started using it, I was actually quite critical of it. But over time, it has become one of my most-used cameras.
I use it for POV footage, cinematic B-roll, behind-the-scenes footage and social media content.
The biggest advantage is the size.
It's so small that I can take it with me practically everywhere without thinking about it. It doesn't stand out much when filming in public, and I don't need to carry another large camera around my neck.
The image quality is surprisingly good for something this small. It doesn't completely compete with larger action cameras or something like the Osmo Pocket when it comes to pure image quality, but that's not really why I use it.
For me, the portability is worth the trade-off.
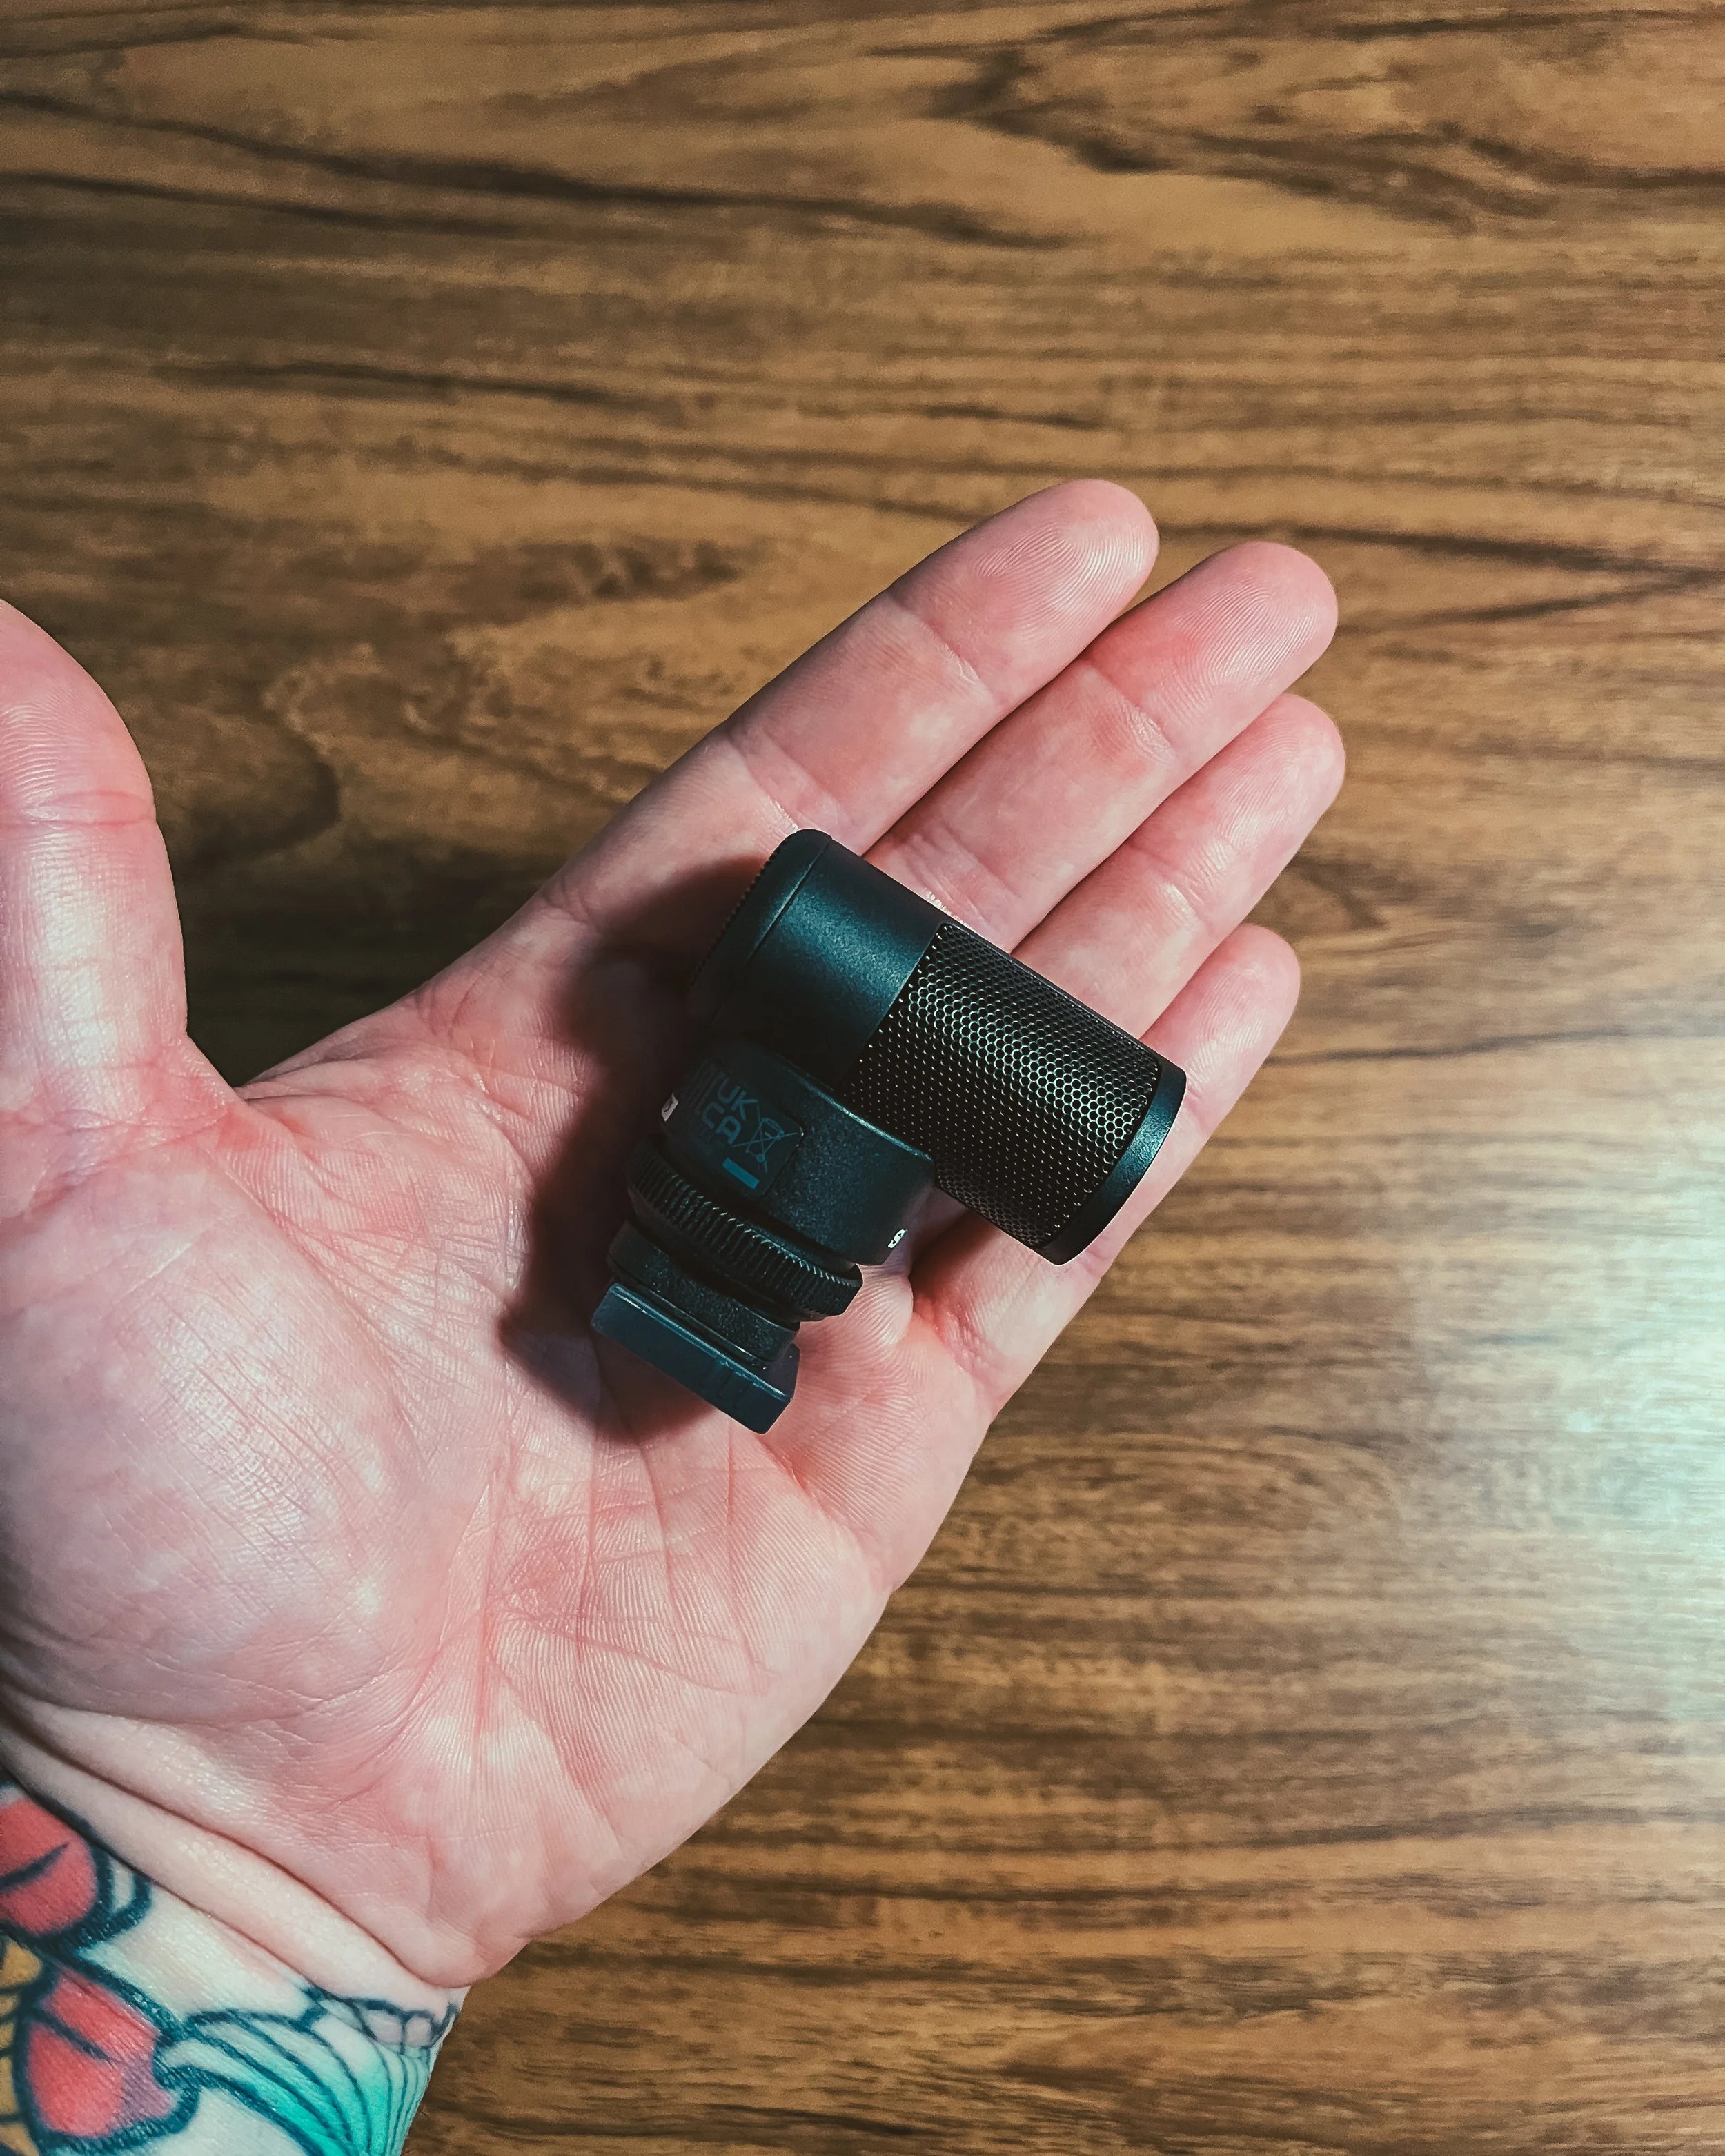
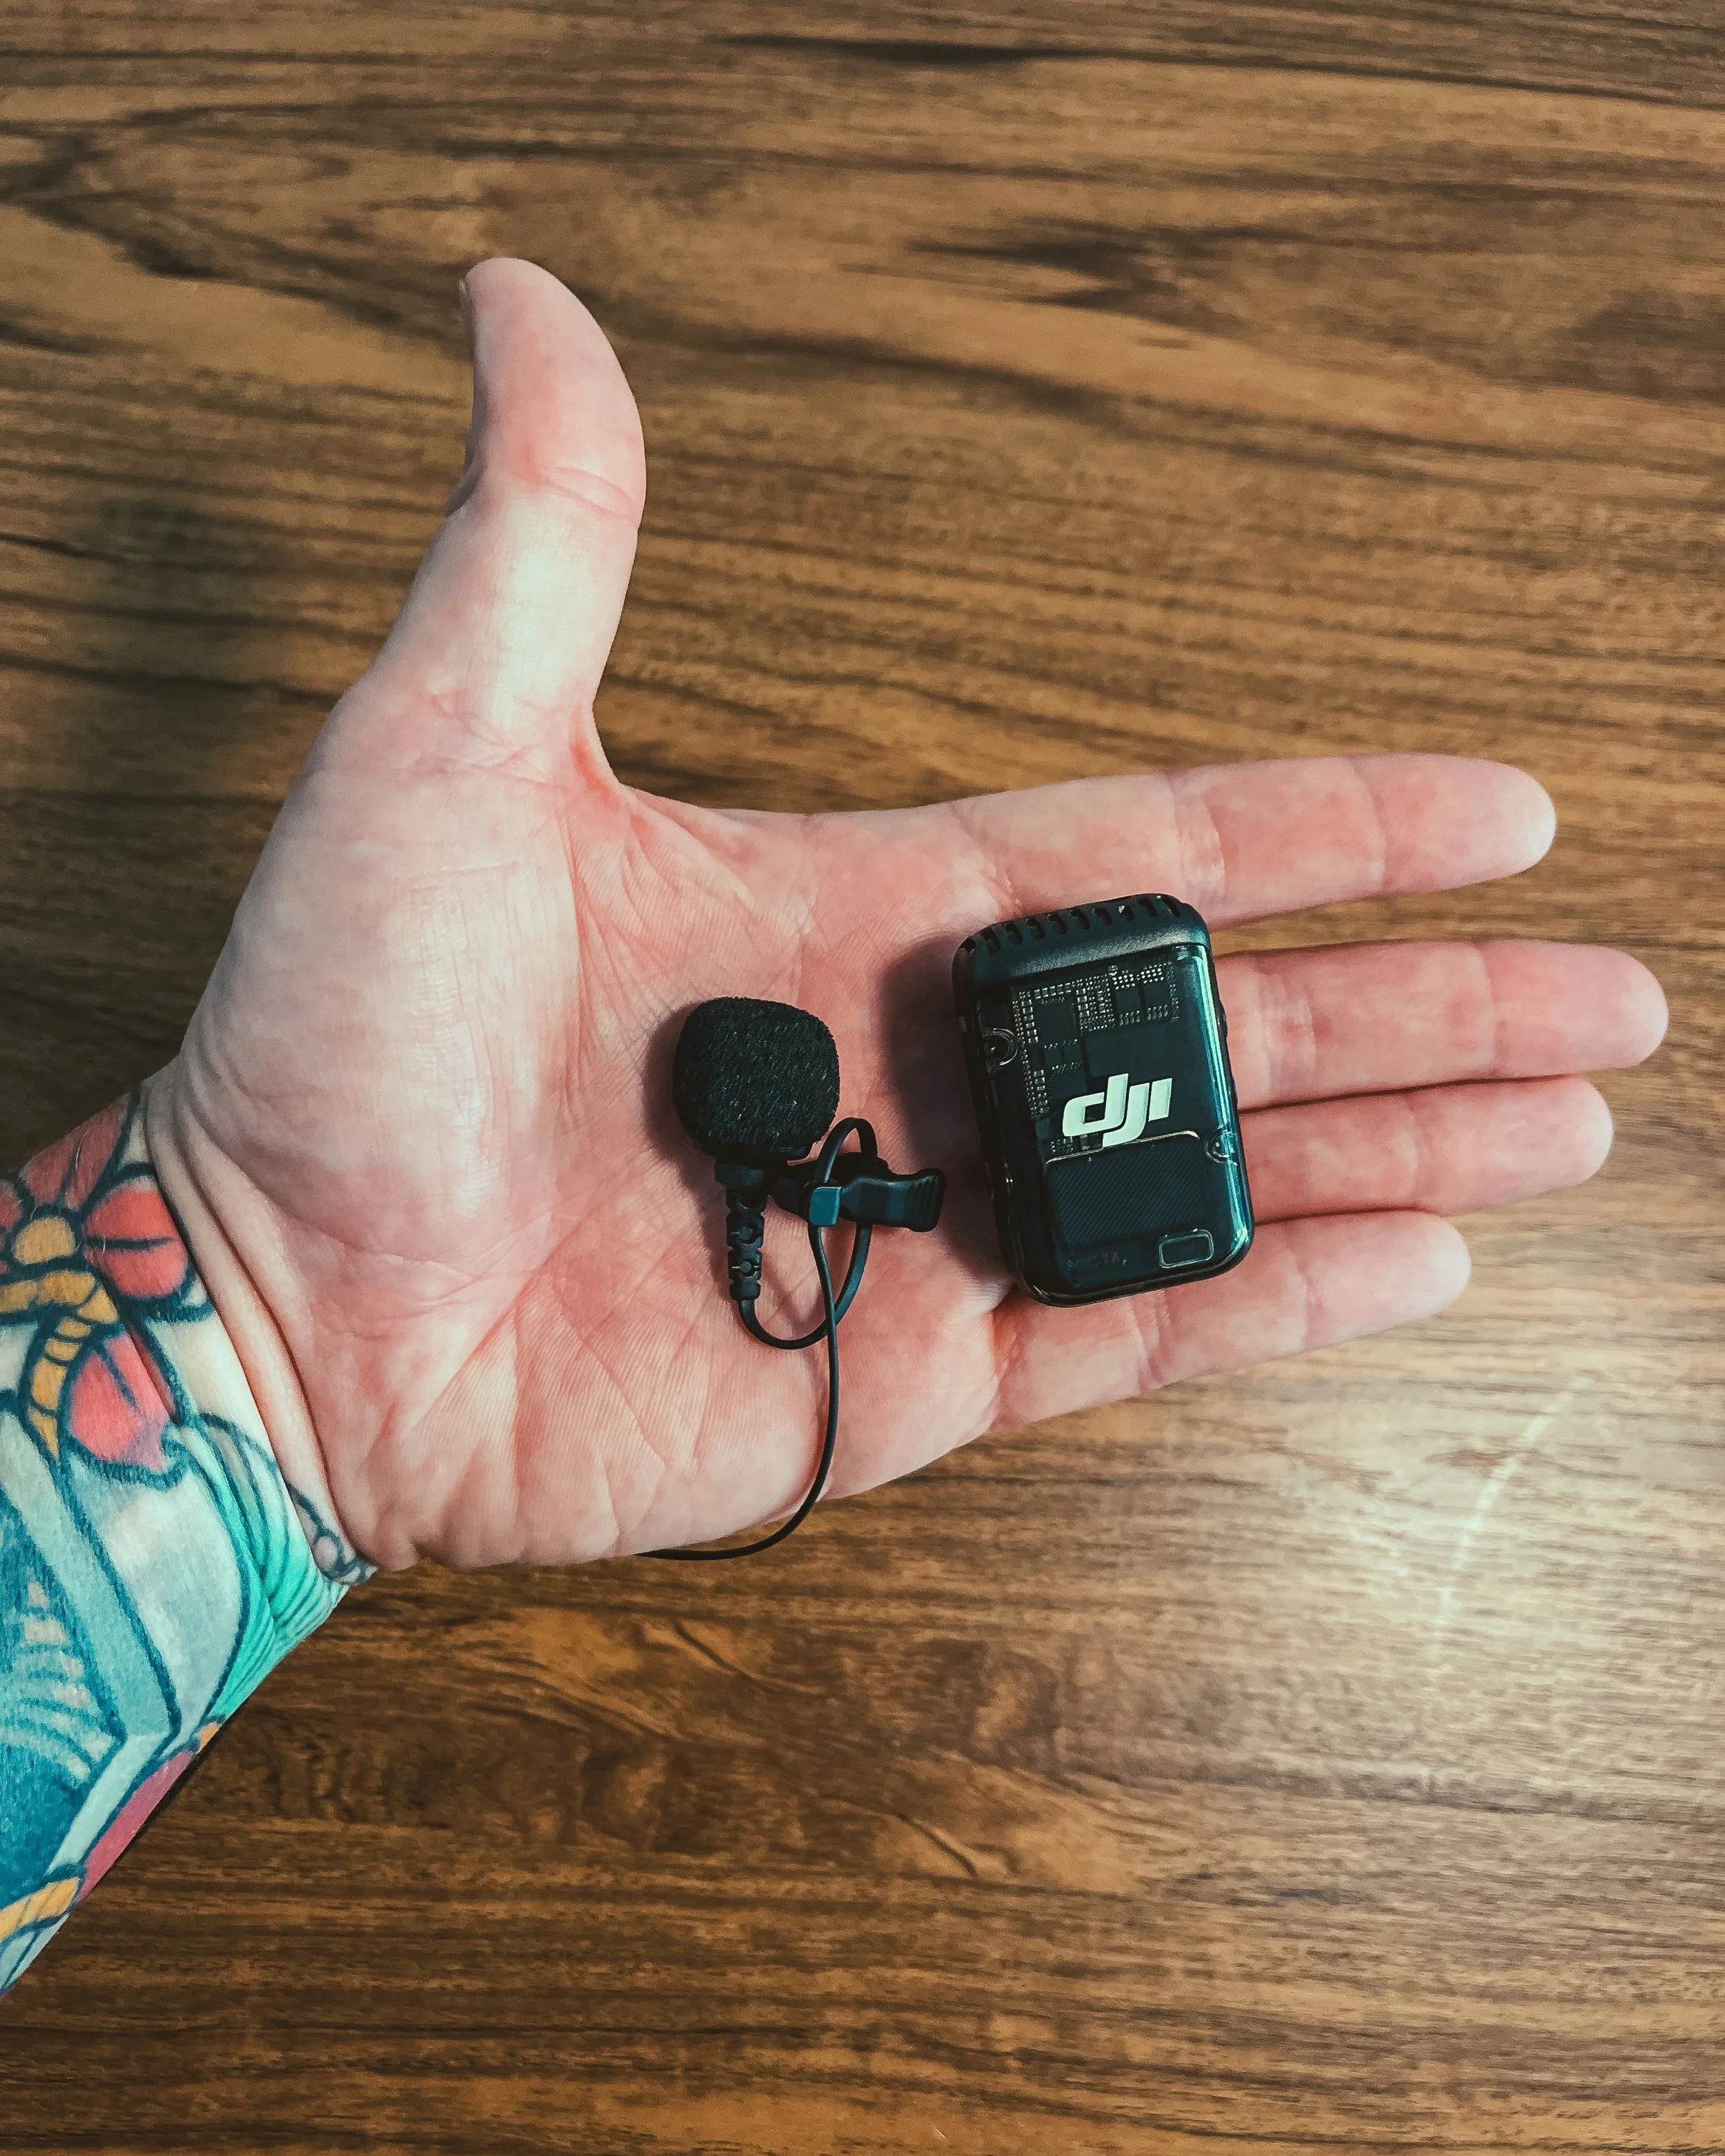
DJI Mic 2 & RØDE Lavalier II
For audio, I use the DJI Mic 2 together with a RØDE Lavalier II.
The internal audio on the Osmo Nano is actually pretty good, but I prefer recording separately when I'm making YouTube or social media content.
The biggest reason I use a lavalier is convenience.
When I'm filming, I already have a camera, the Osmo Nano and my camera bag around me. Adding another transmitter to my shirt can quickly make the whole setup feel cluttered.
The lavalier is much more discreet, while I can keep the DJI transmitter around my waist or on my belt.
It's a simple setup that gives me cleaner audio without adding much extra weight.
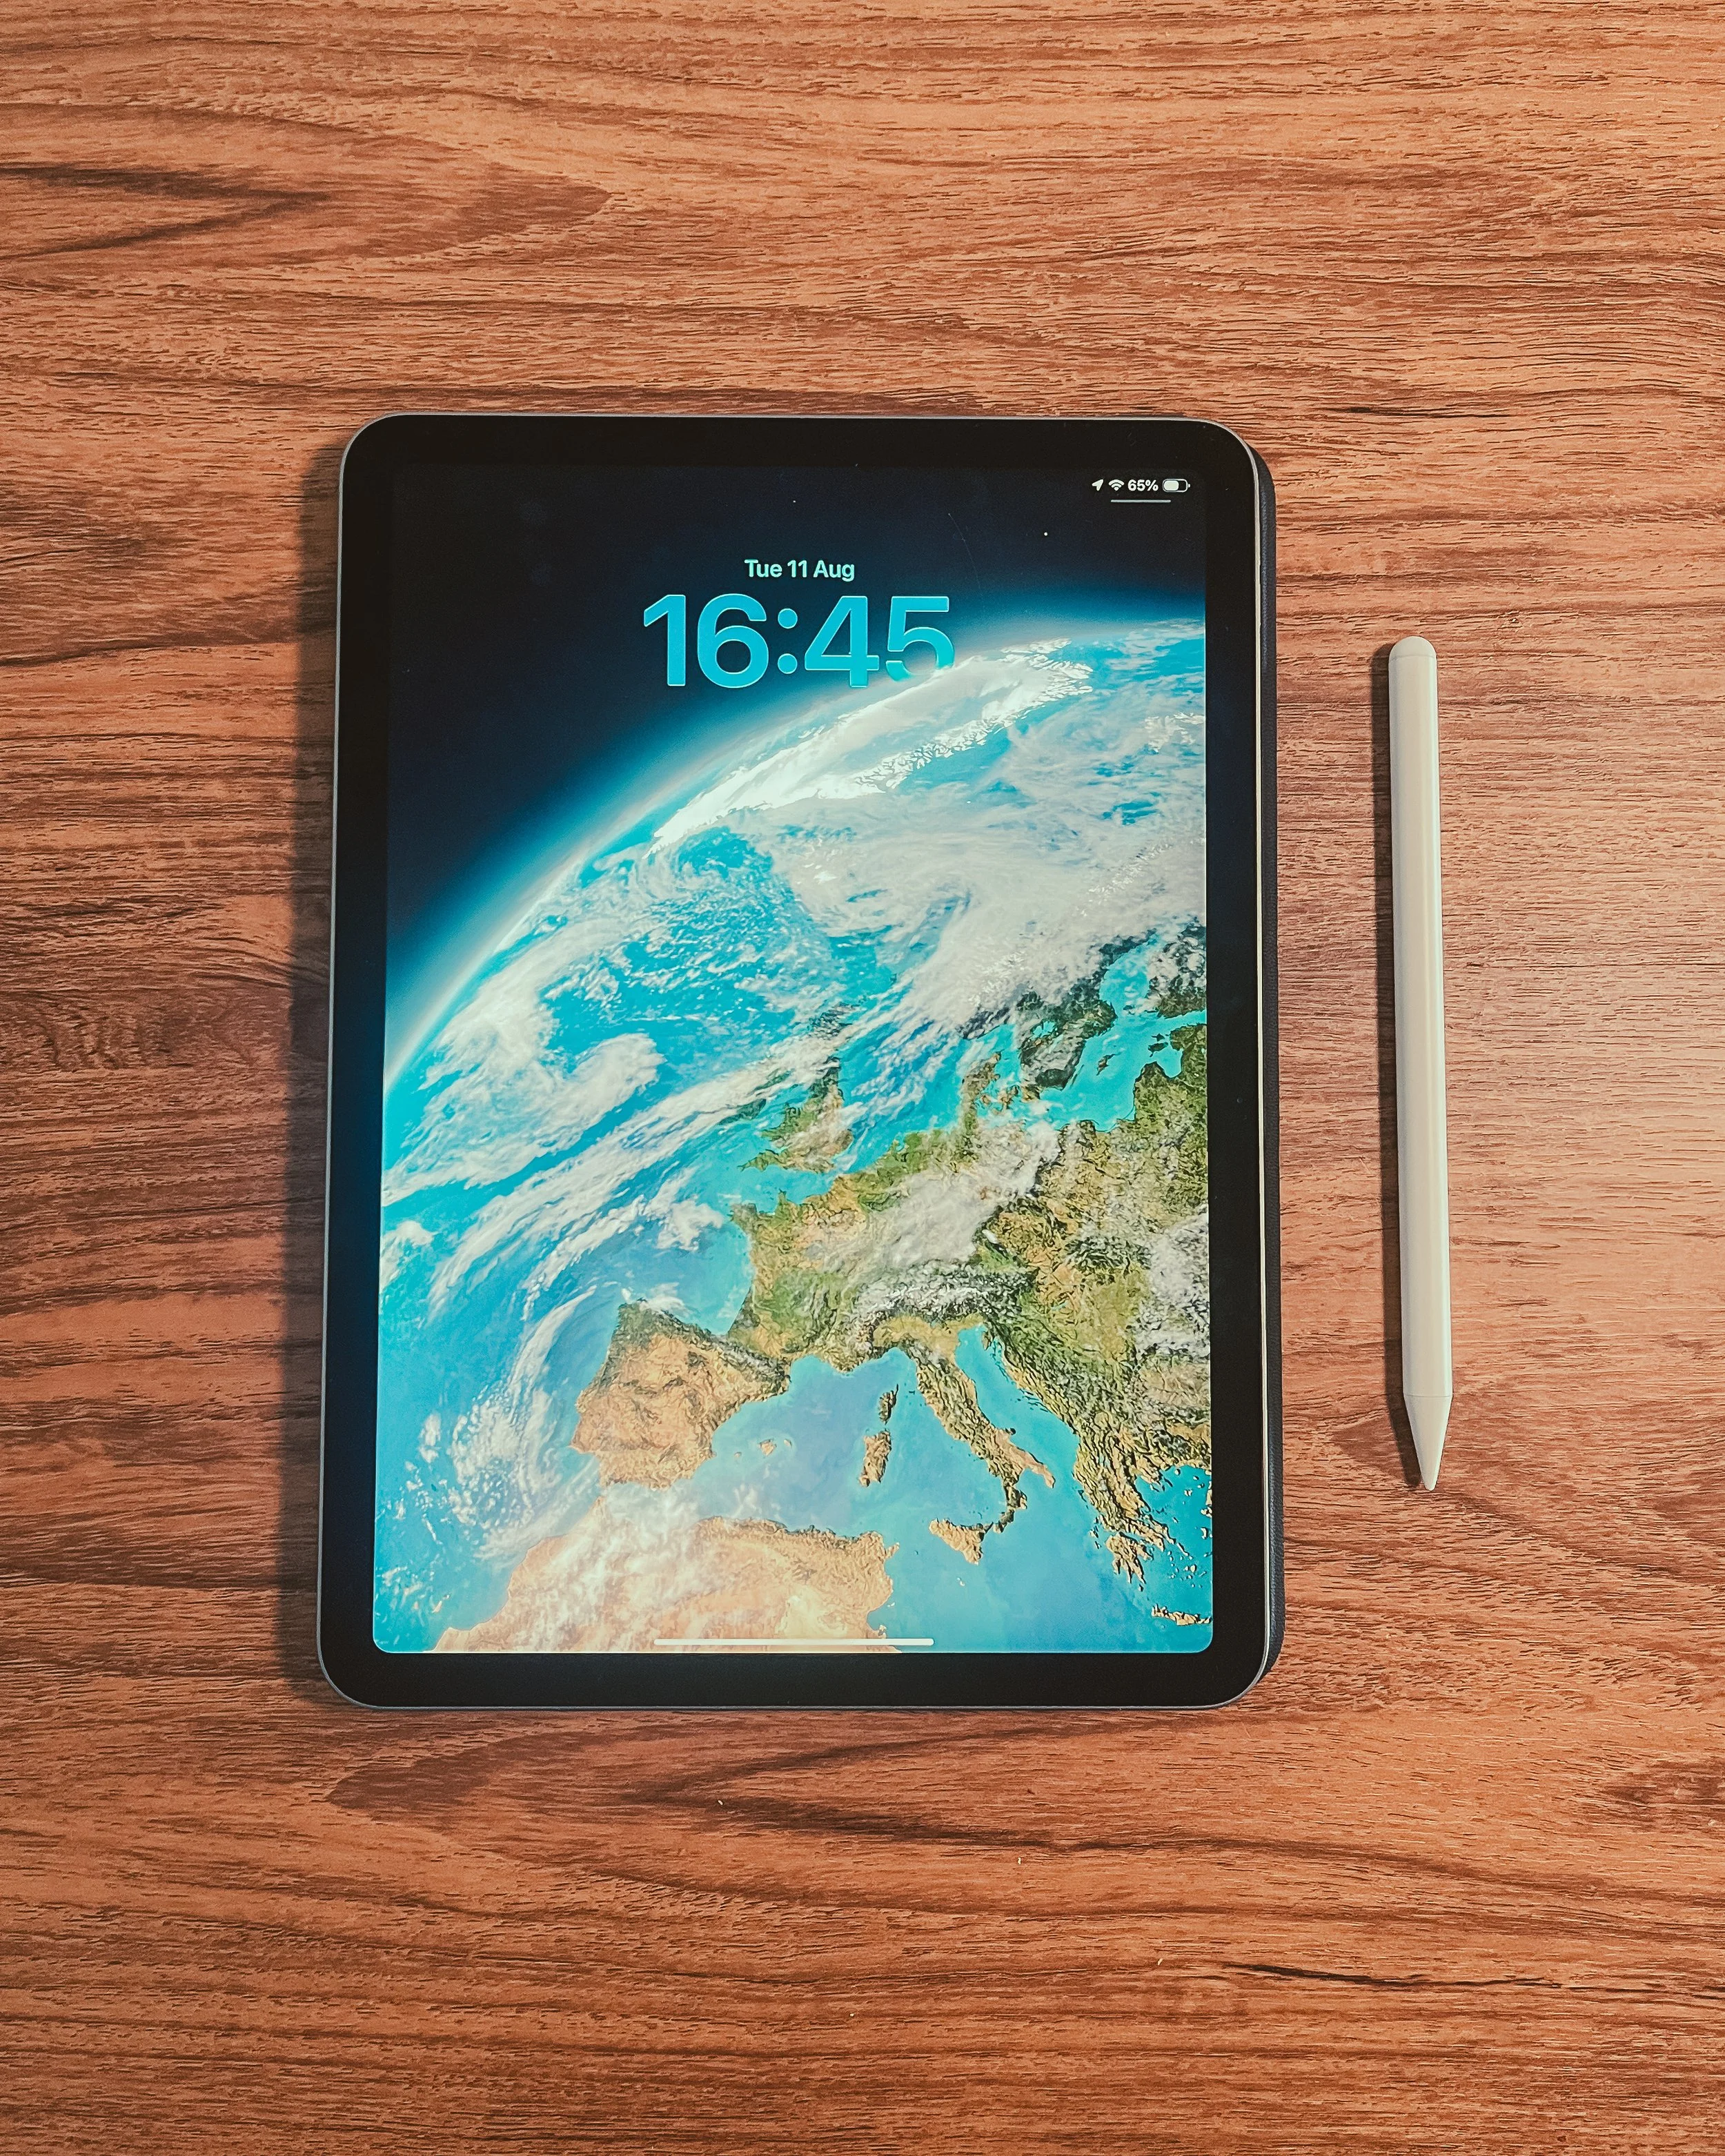
11-inch iPad Air
The newest addition to my kit is the 11-inch iPad Air.
I bought it because I wanted to improve my workflow while travelling.
I used to bring a small laptop with me, but eventually it became outdated and wasn't really practical anymore. For a while, I travelled without a computer, which meant coming home with hundreds of photos and videos that still needed to be organised and edited.
The iPad allows me to do much of that work while I'm still travelling.
I can cull photos, edit in Lightroom and work on content without carrying a full-sized laptop.
The 11-inch size is also perfect for me because it's small enough to fit easily into my travel setup.
I also enjoy using an Apple Pencil for photo editing, as it makes the experience feel much more interactive.
I've only recently bought it, so I can't give a full long-term review yet, but so far I'm really happy with the decision
Batteries & Power Bank
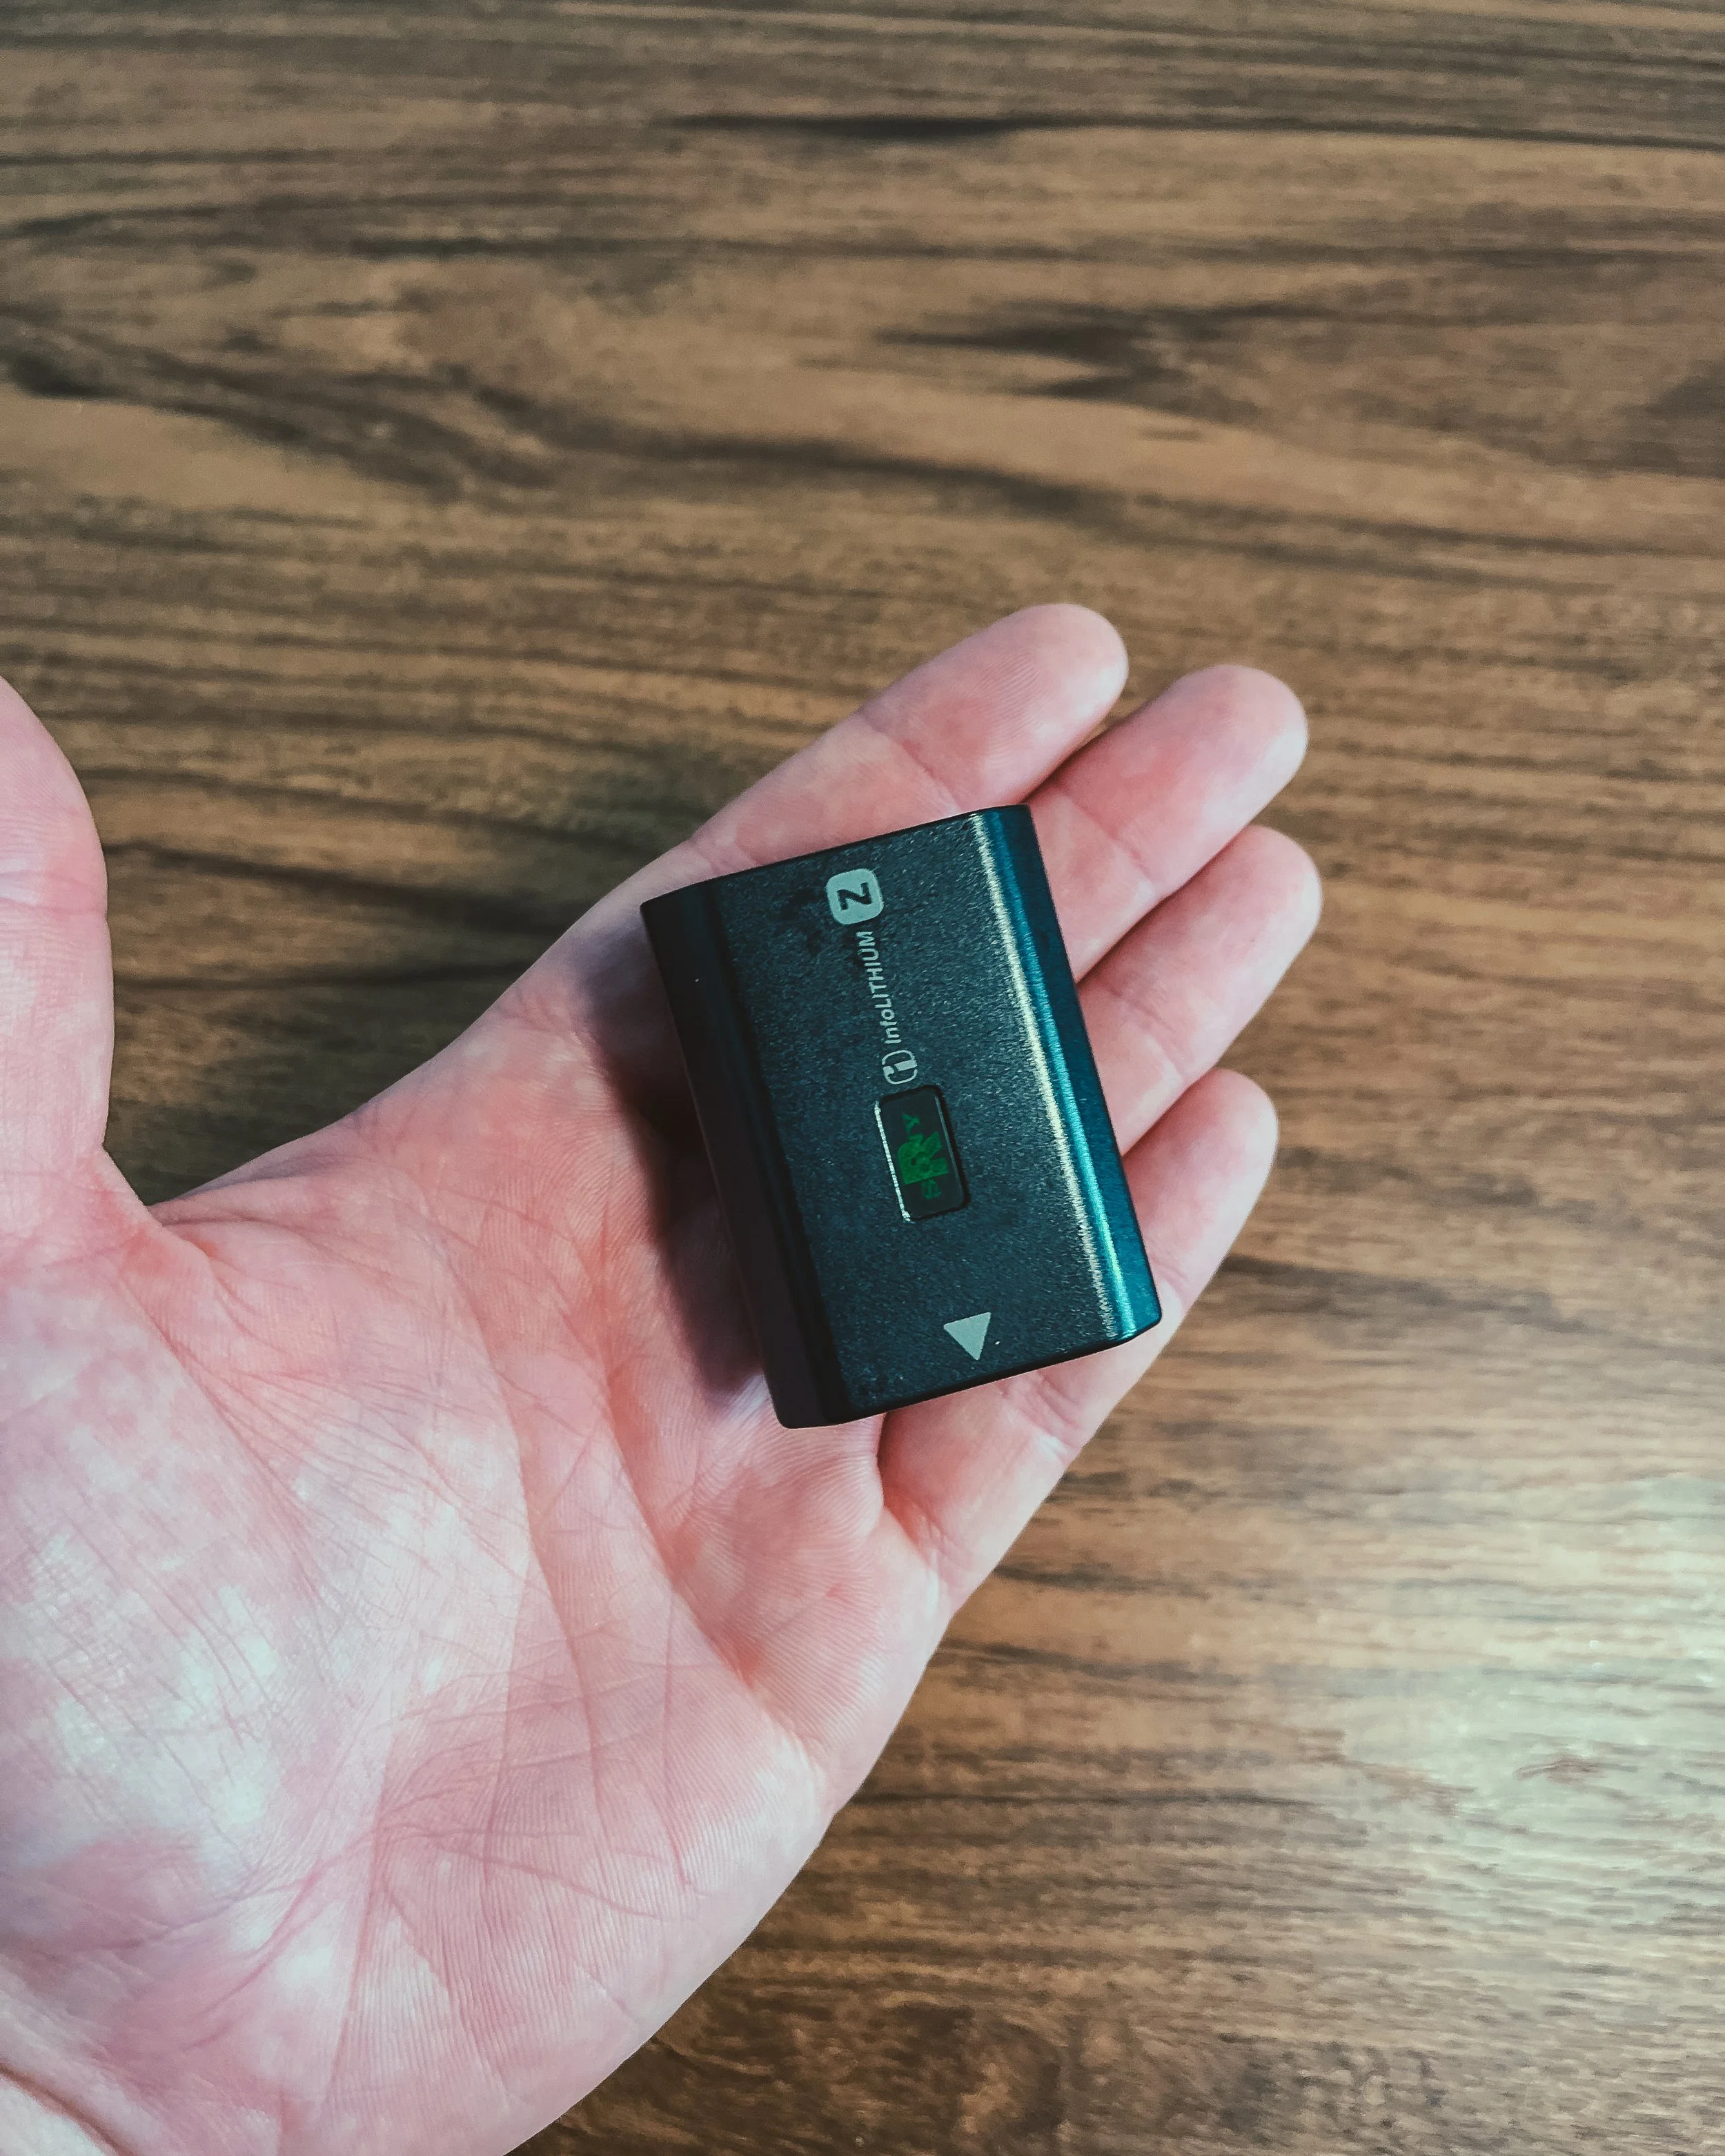
For my Sony A7 IV, I always bring a spare battery. Two batteries are usually enough to get me through a full day of shooting.
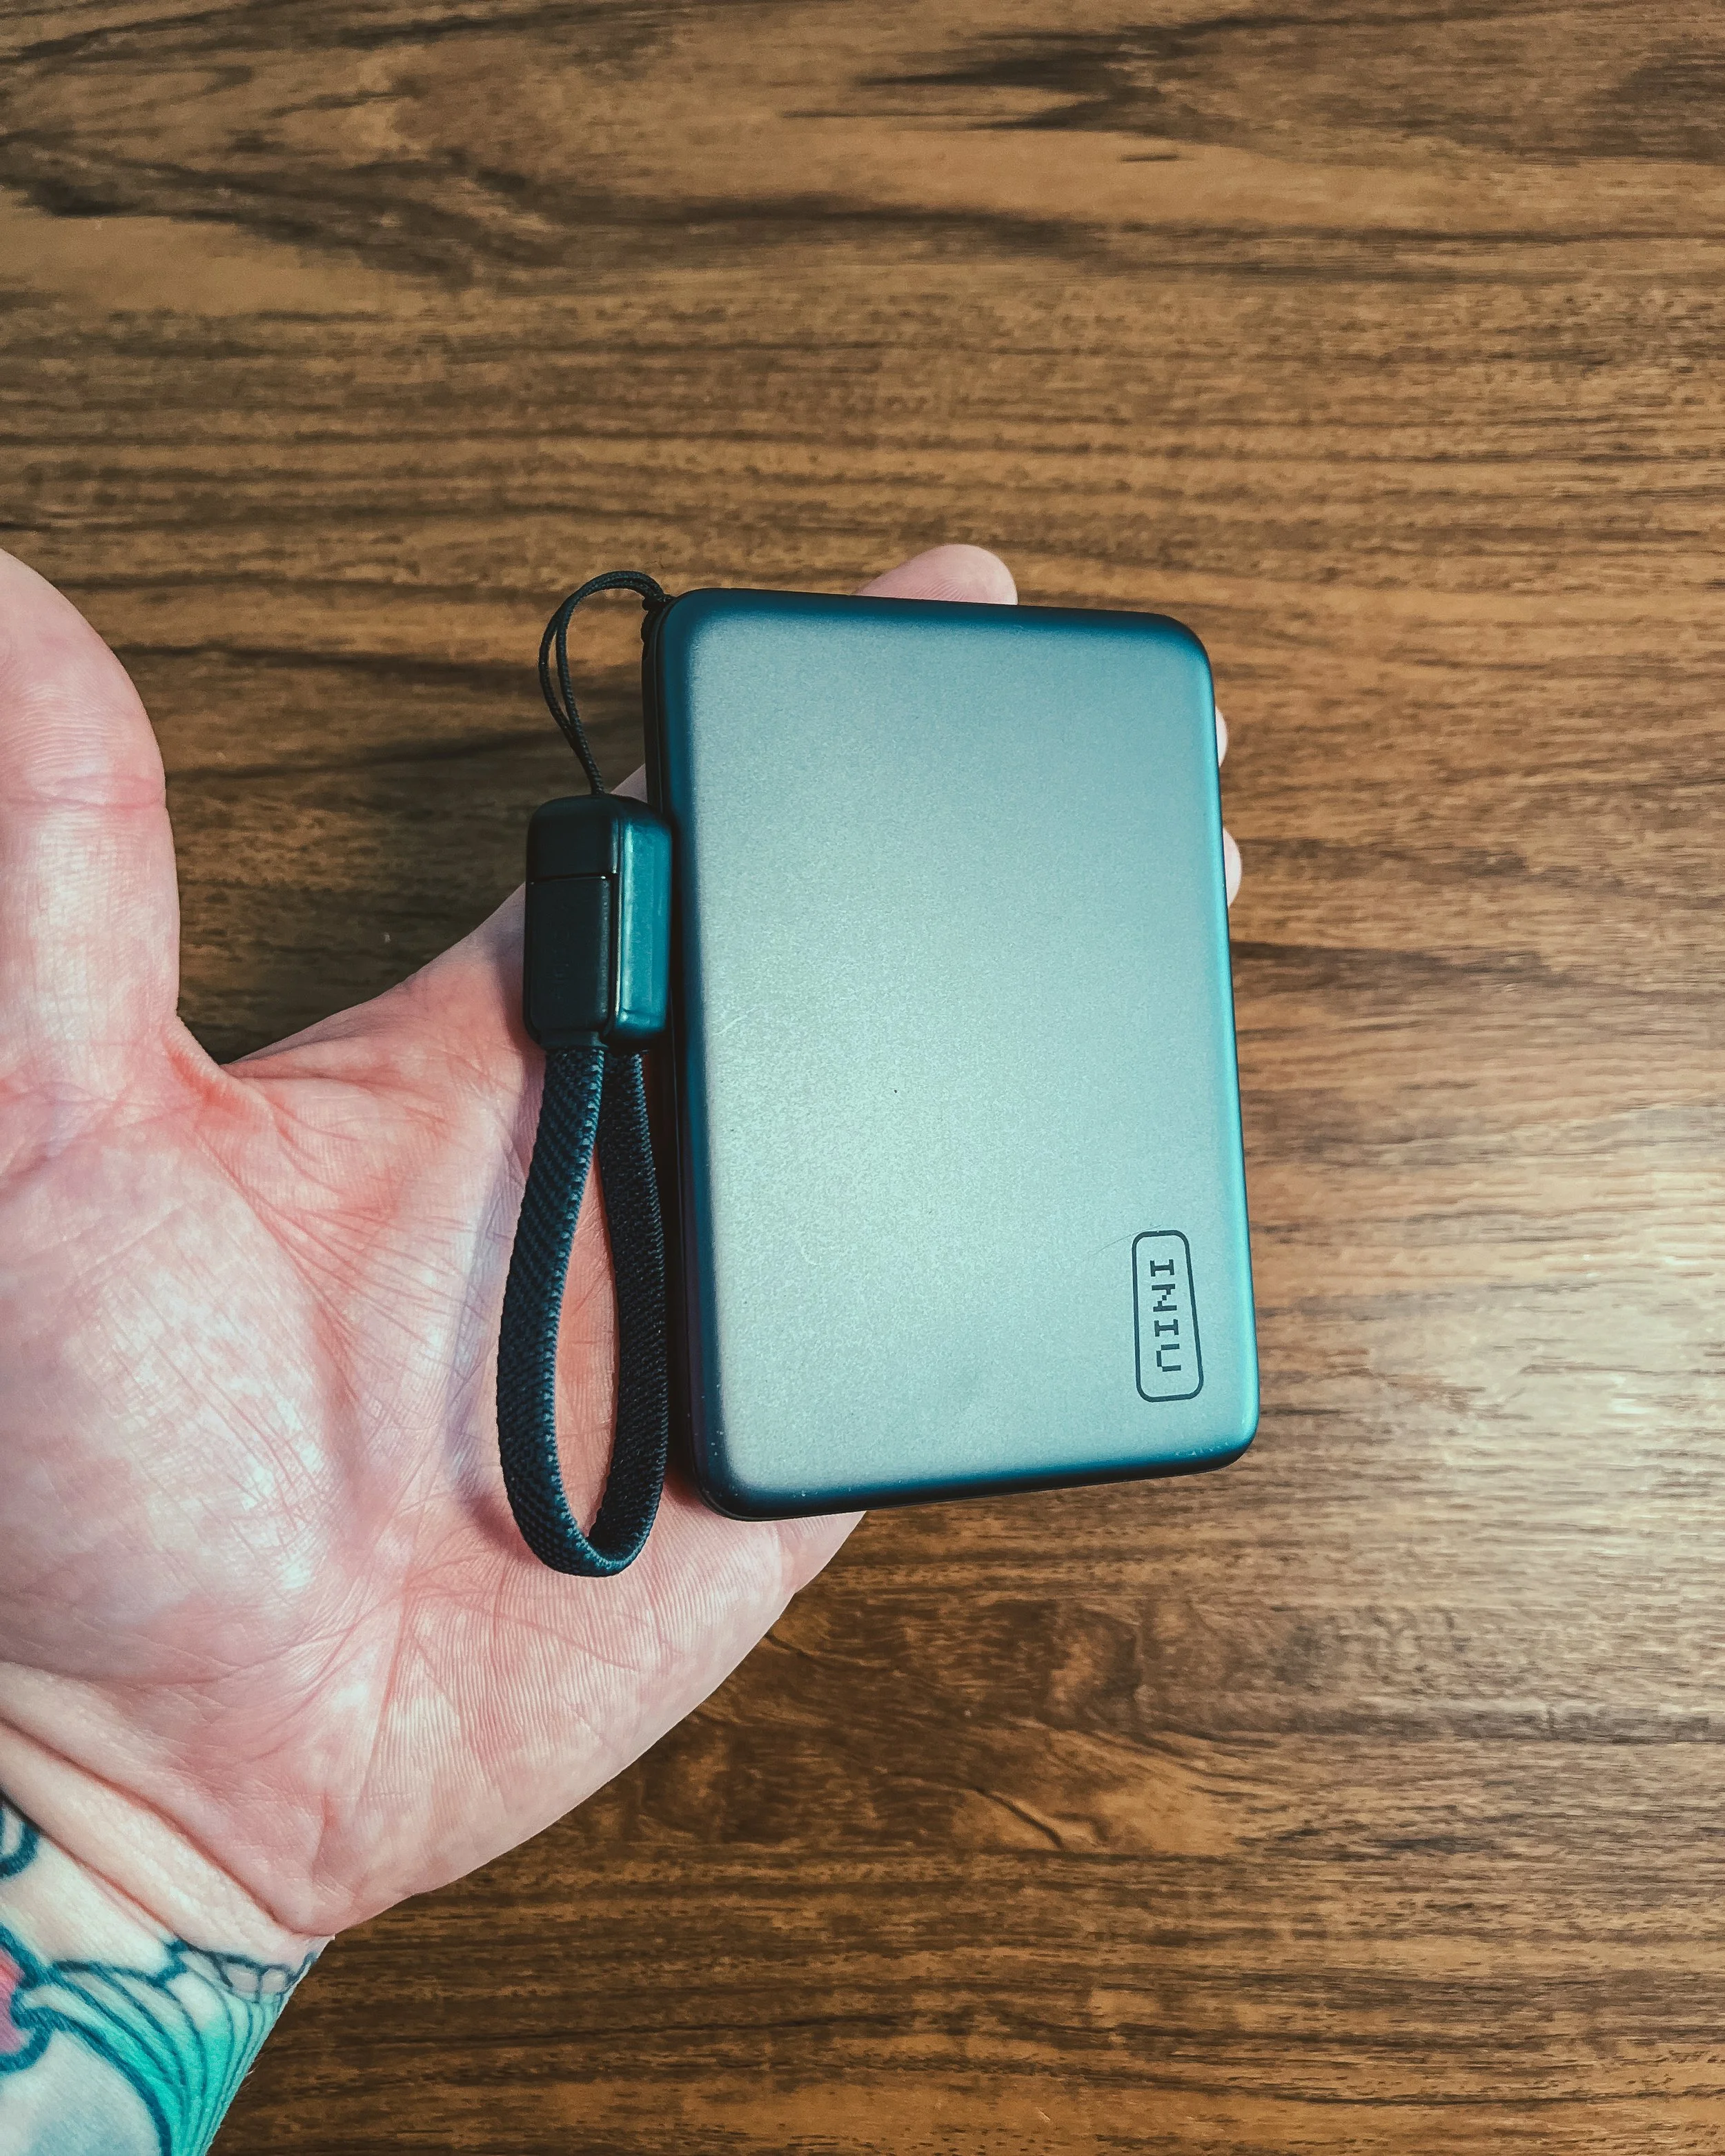
I also carry a INIU SnapGo Air 10,000 mAh power bank.
I mainly use it to charge my phone, but it's also useful for charging the Osmo Nano and DJI Mic 2 when I'm taking a break.
The Osmo Nano's battery life isn't its strongest feature, so having a power bank gives me some extra flexibility when I'm travelling.
Ulanzi MT-08 Tripod
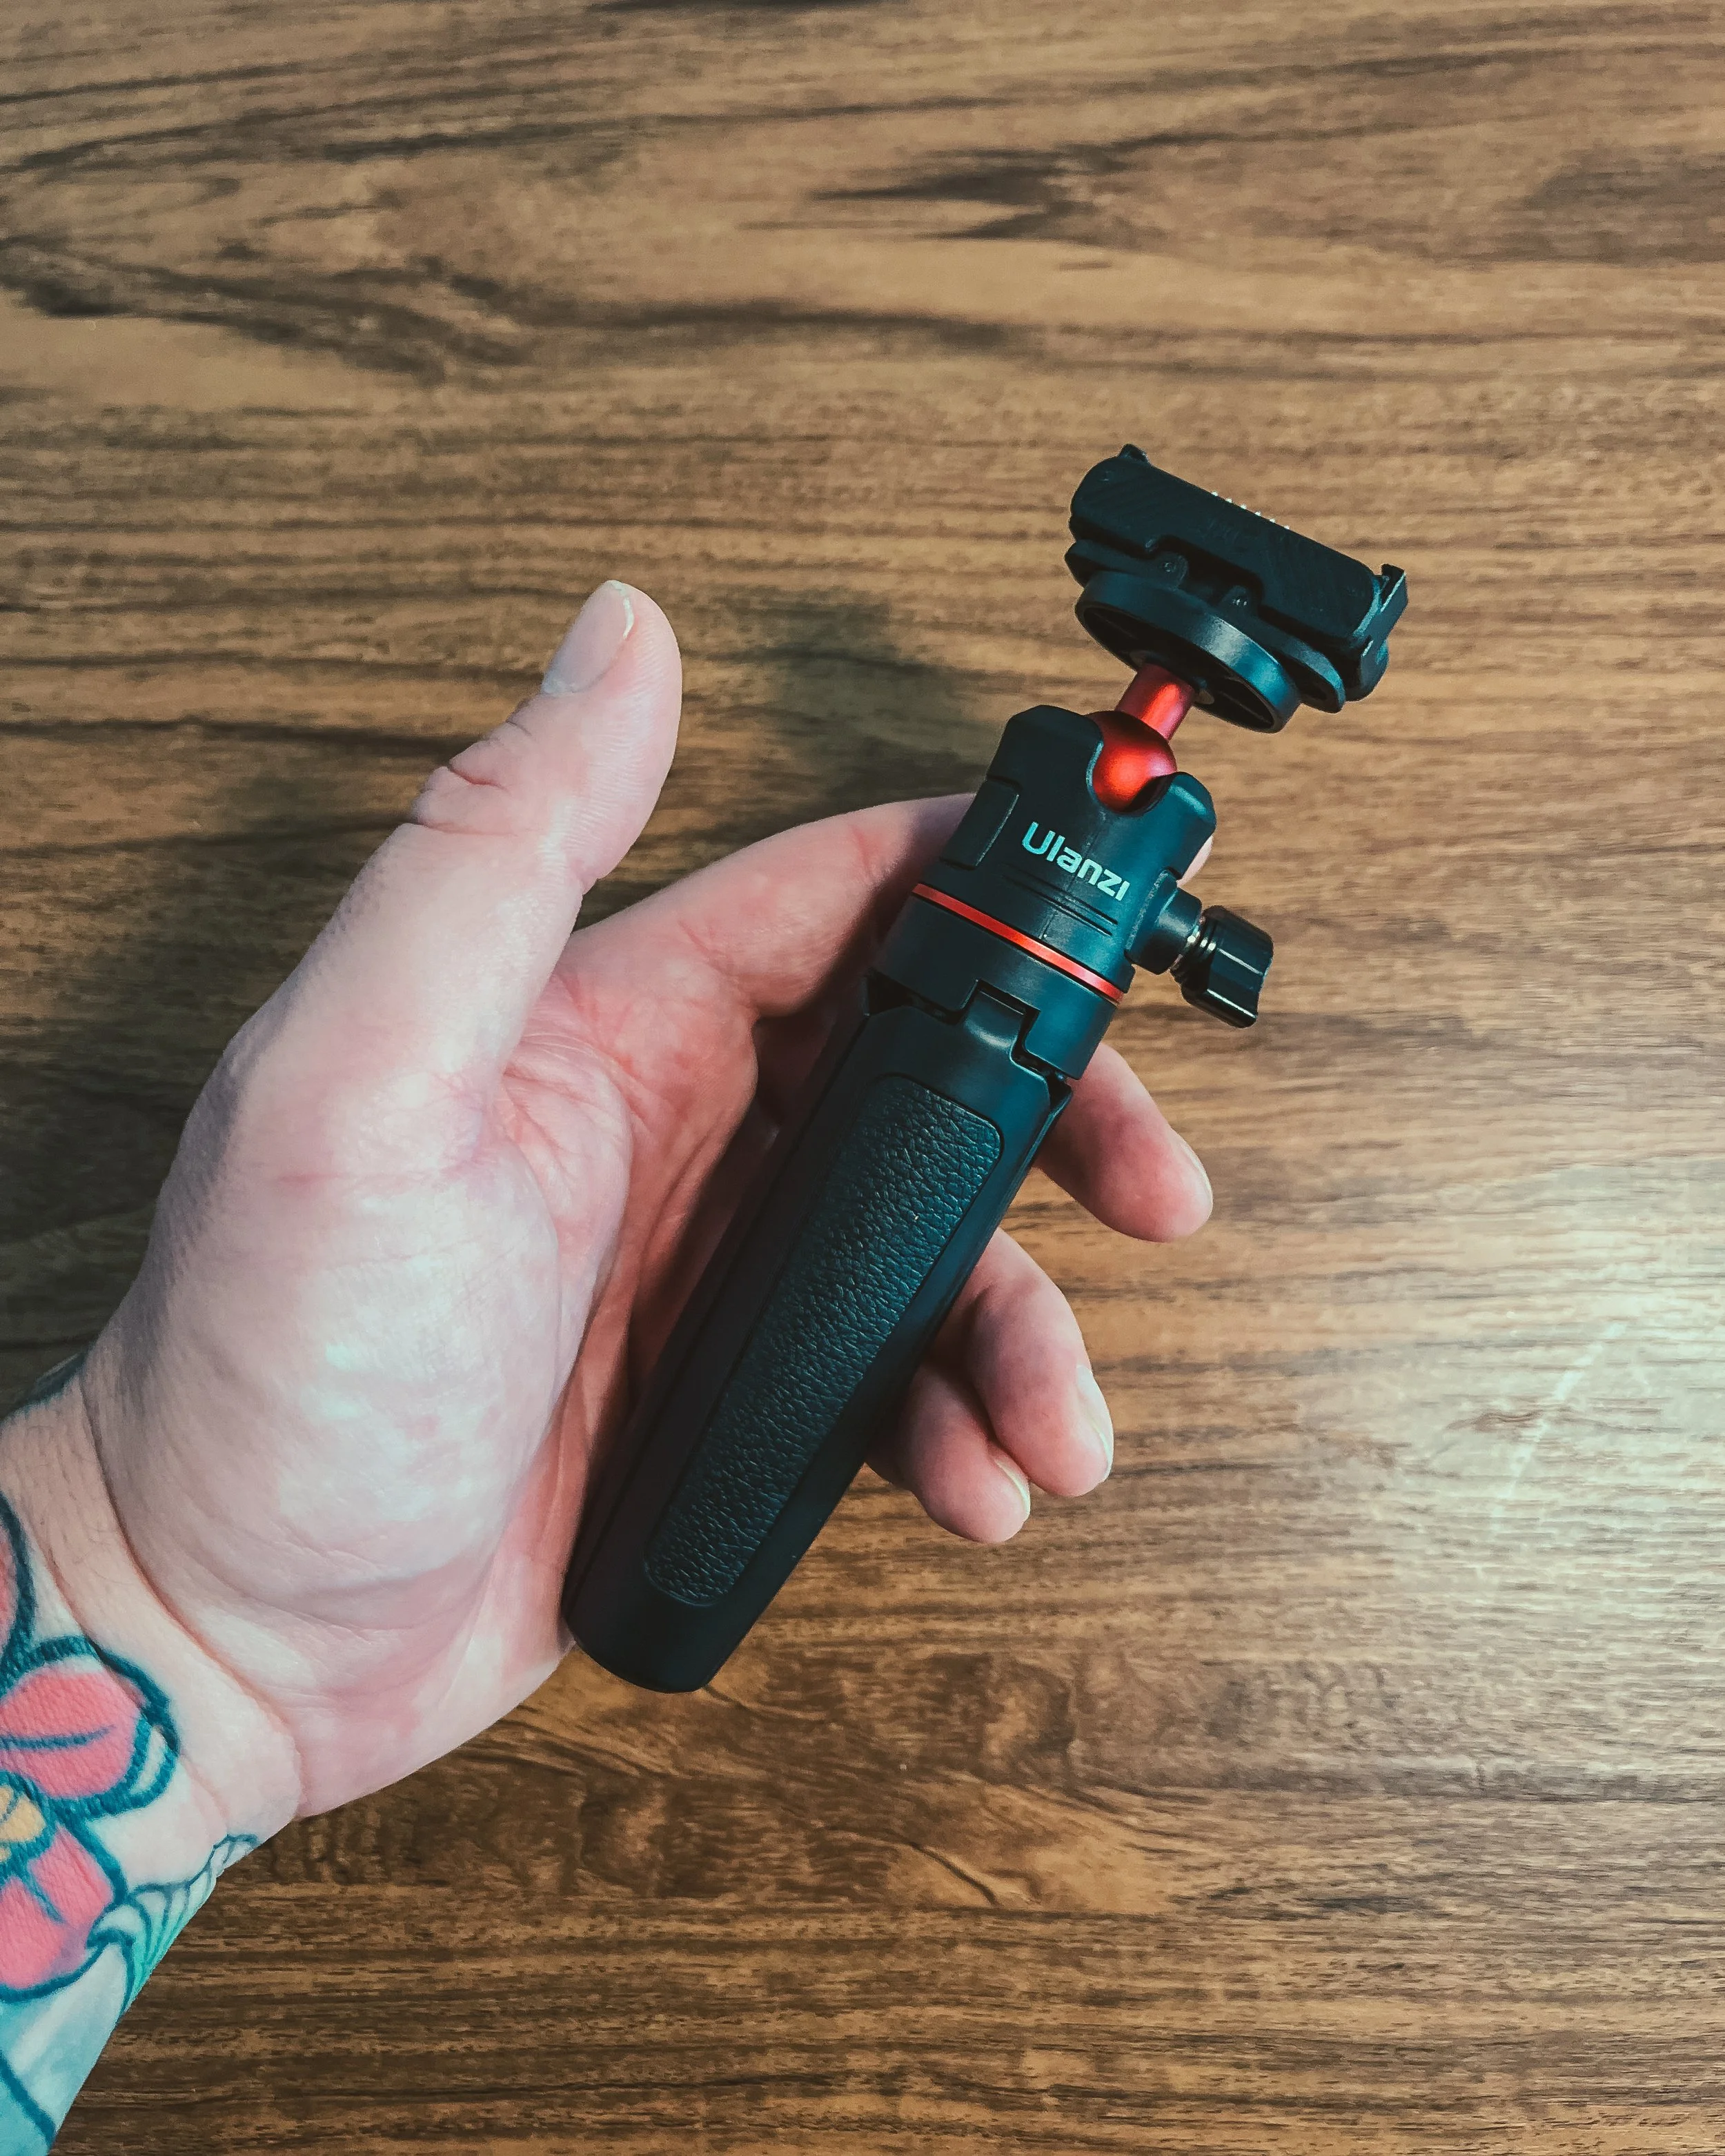
The Ulanzi MT-08 is another small but useful part of my kit. I mainly use it as a selfie stick for my DJI Osmo Nano to film behind-the-scenes footage while I'm out shooting.
I occasionally use it with my Sony A7 IV as well, but it's not particularly stable with a full-sized camera, so I mainly stick to using it with the Osmo Nano.
It's small, lightweight and easy to throw in my bag, which makes it perfect for my minimalist setup.
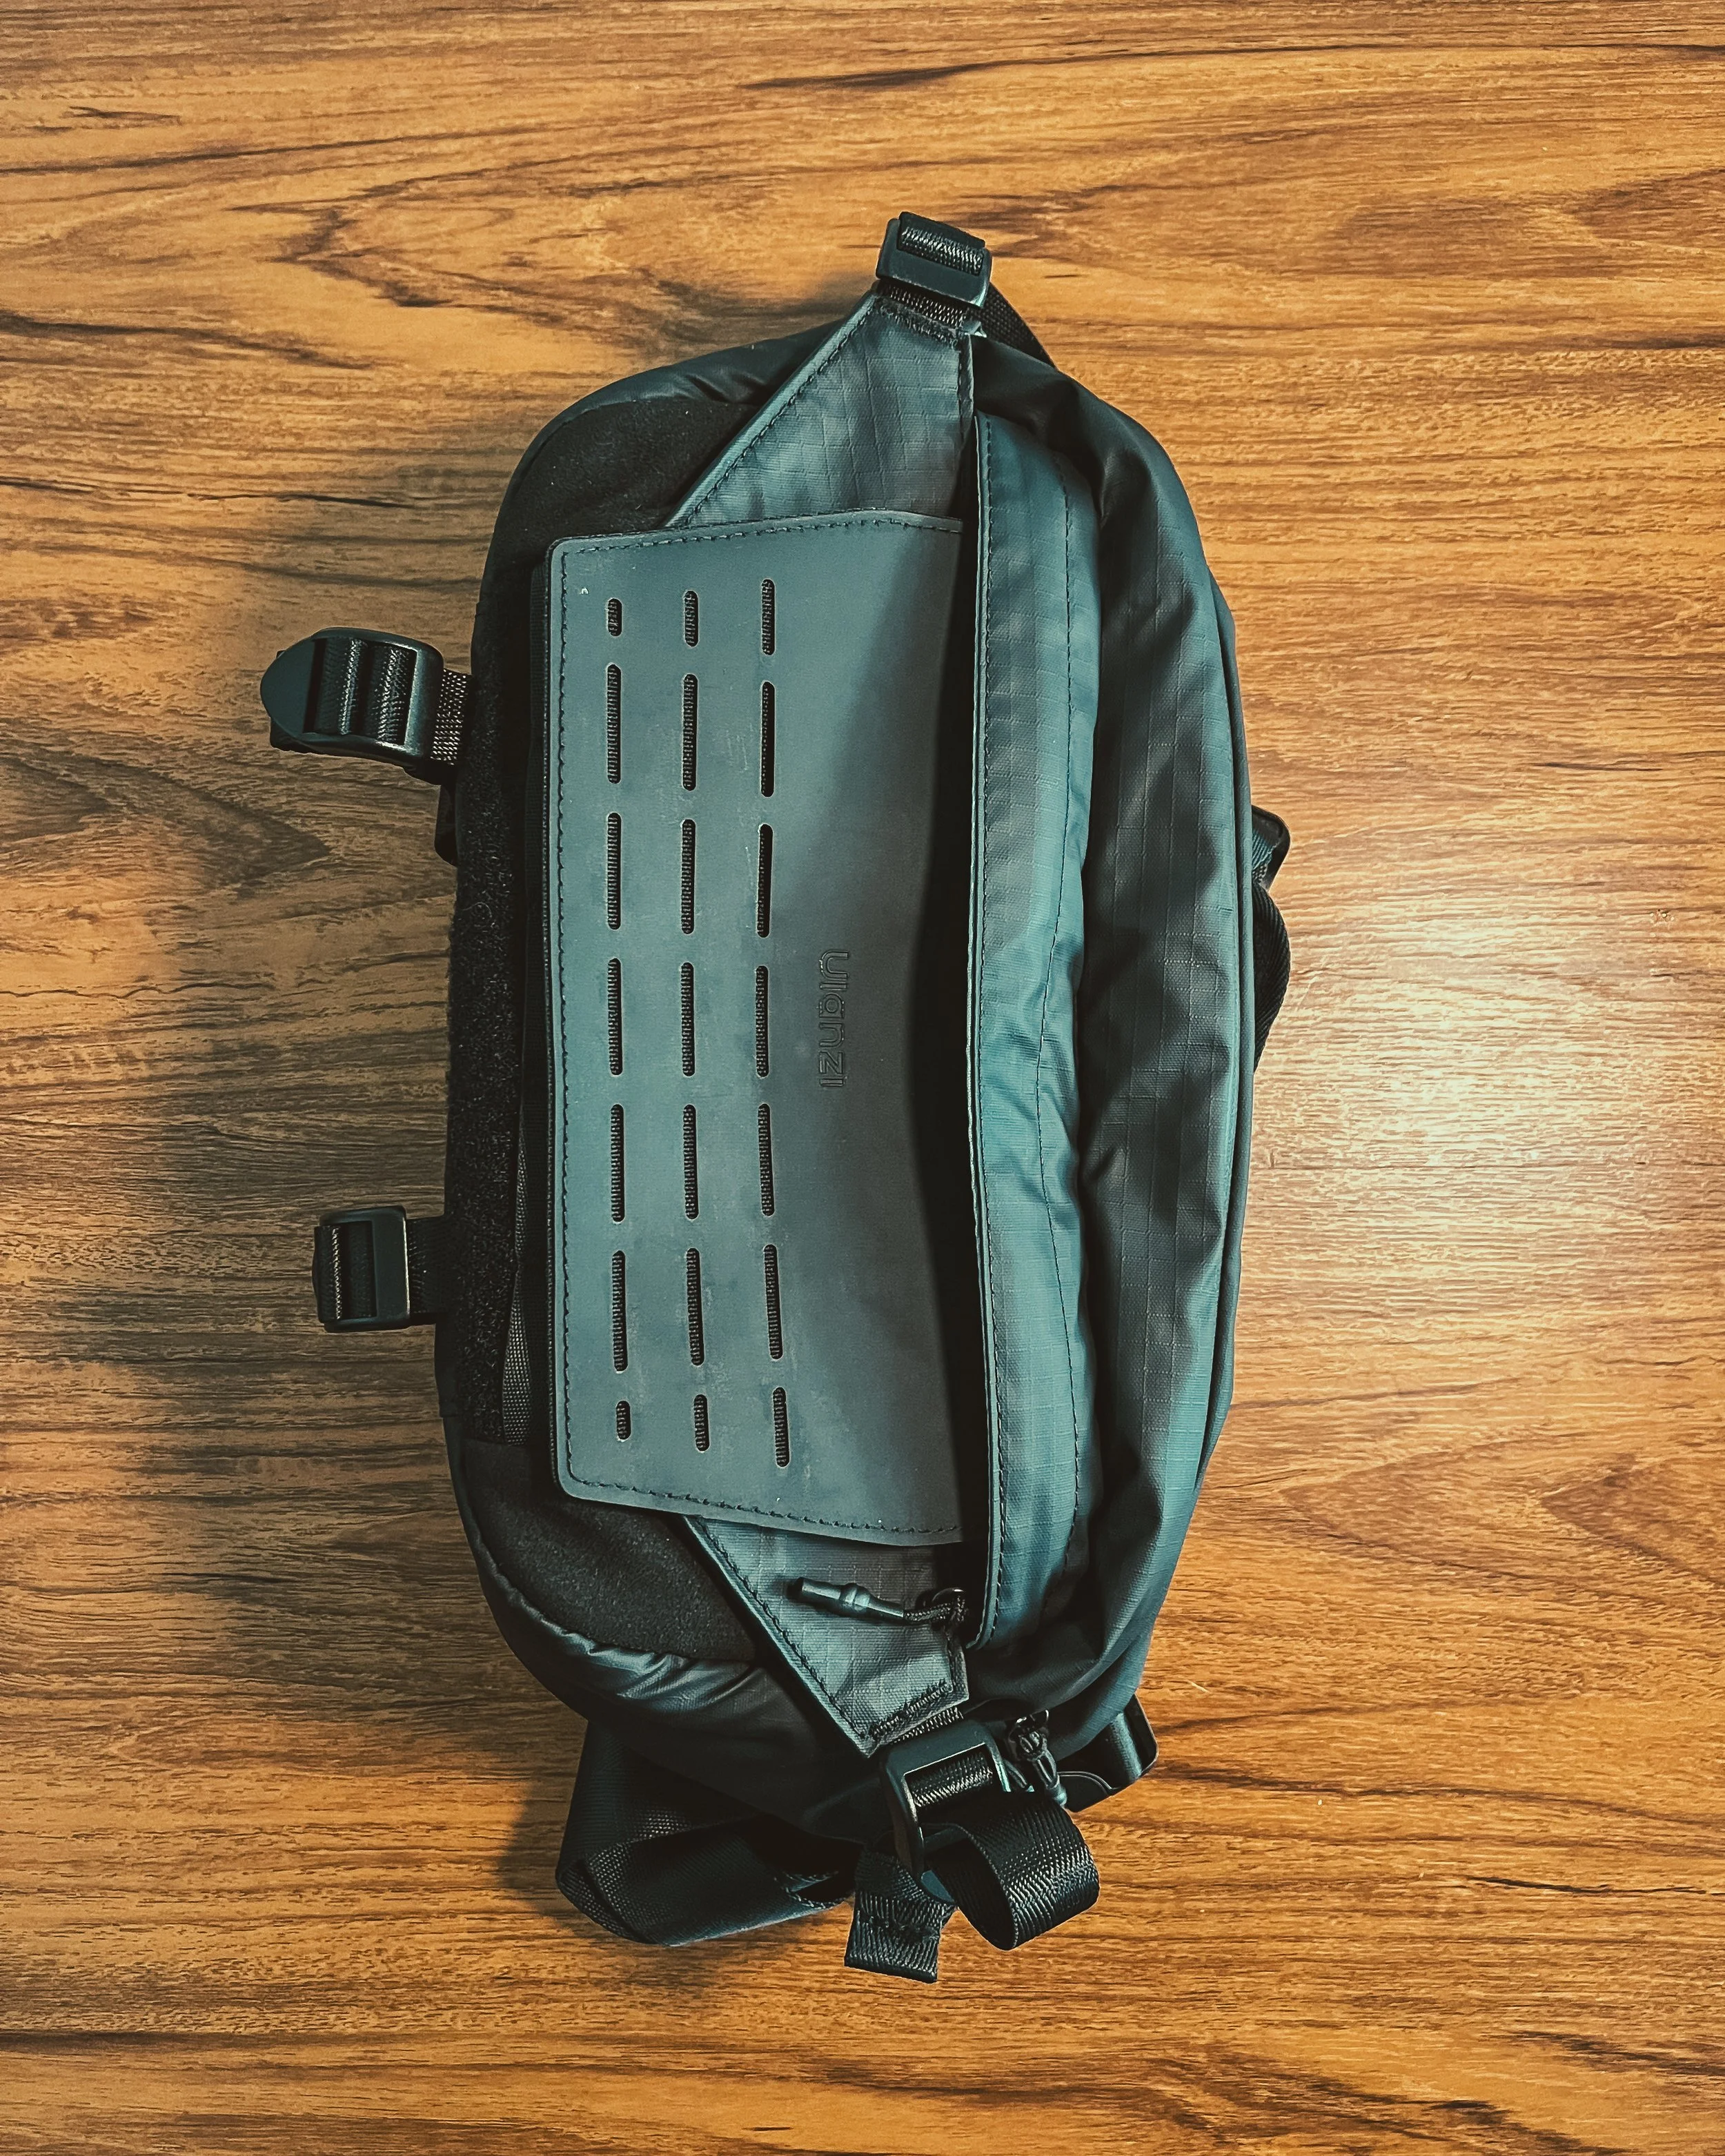
Ulanzi Camera Bag
Finally, everything comes together with my Ulanzi camera bag.
Almost everything I've mentioned in this article fits inside this small bag, apart from the iPad.
The main reason I chose it is the number of compartments. I like having a dedicated place for my lenses, batteries, cables and other small accessories.
I also really like the design. It doesn't immediately look like a traditional camera bag, which is something I appreciate when travelling.
Why I Keep My Kit Minimal
The main lesson I've learned from building my setup is that more gear doesn't necessarily mean better results.
I want my camera kit to make photography easier, not more complicated.
A lightweight setup means I'm more likely to bring my camera with me, and having fewer choices means I spend less time thinking about equipment and more time actually taking photos.
That's really the philosophy behind my current setup.
I'm not trying to own the most expensive gear. I'm trying to own the right gear for what I actually do.
And you definitely don't need a setup like this to get started. You can take great photos with a cheaper camera, one lens or even your phone.
The most important thing is to get out there and create.
The best camera gear is the gear that makes you want to go out and use it.